
Anatomy of a repair
Have you ever noticed that things on your to do list that take longer than 5 minutes often get pushed from one day to another? Until it’s been actual months, and suddenly ‘put up shelf’ is still on there, and that bit of plywood is sitting in the corner of your room, gathering dust.
I’m not the first one to figure this out, but often things we think are just one task are actually many small tasks combined to create one ‘mega task’. Sorry dear friend, but I’m here to tell you, ‘run London marathon’ doesn’t just get done because the date is on your calendar. You need to train a few times a week, schedule your sleep, eat properly. All that stuff leads up to eventually completing a marathon. So how then do we put in place the systems to go from goal to achievement? Well, an old adage comes to mind here:
How do you eat an elephant?
One bite at a time.
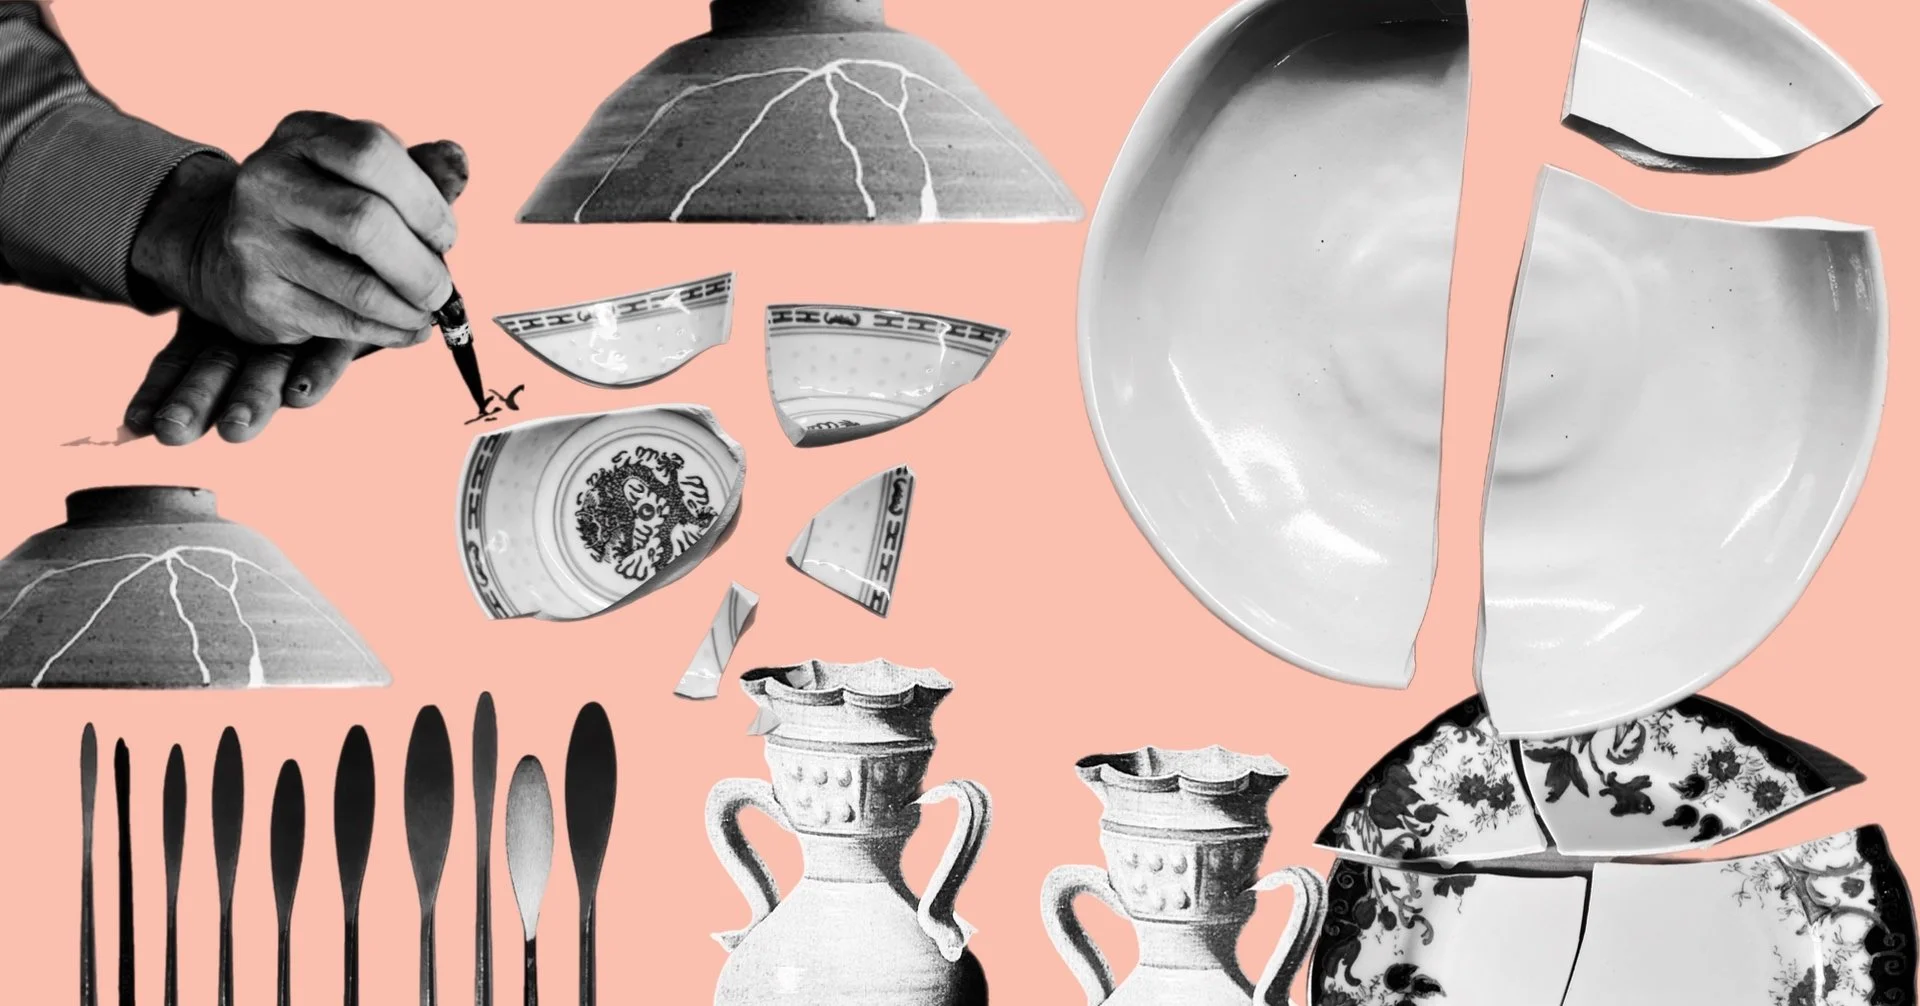
I’m a fan of processes. For me, it’s one of the only solutions to taking something as ephemeral as ‘paint a picture’ and bring it into reality. If I want to get anything of any meaning done in this life, I have always found it handy to break it down into process. This isn’t the most romantic approach, but it’s an effective approach. At the beginning of every Intermediate Kintsugi Repair workshop I lead, we tend to start with anatomy. The anatomy of a repair to be precise. Because breaking the process of repair into bite-sized elements will get you there a lot quicker than putting ‘learn kintsugi repair’ on your to do list. So here are the 5 essential steps to a traditional kintsugi repair.
ASSESSMENT
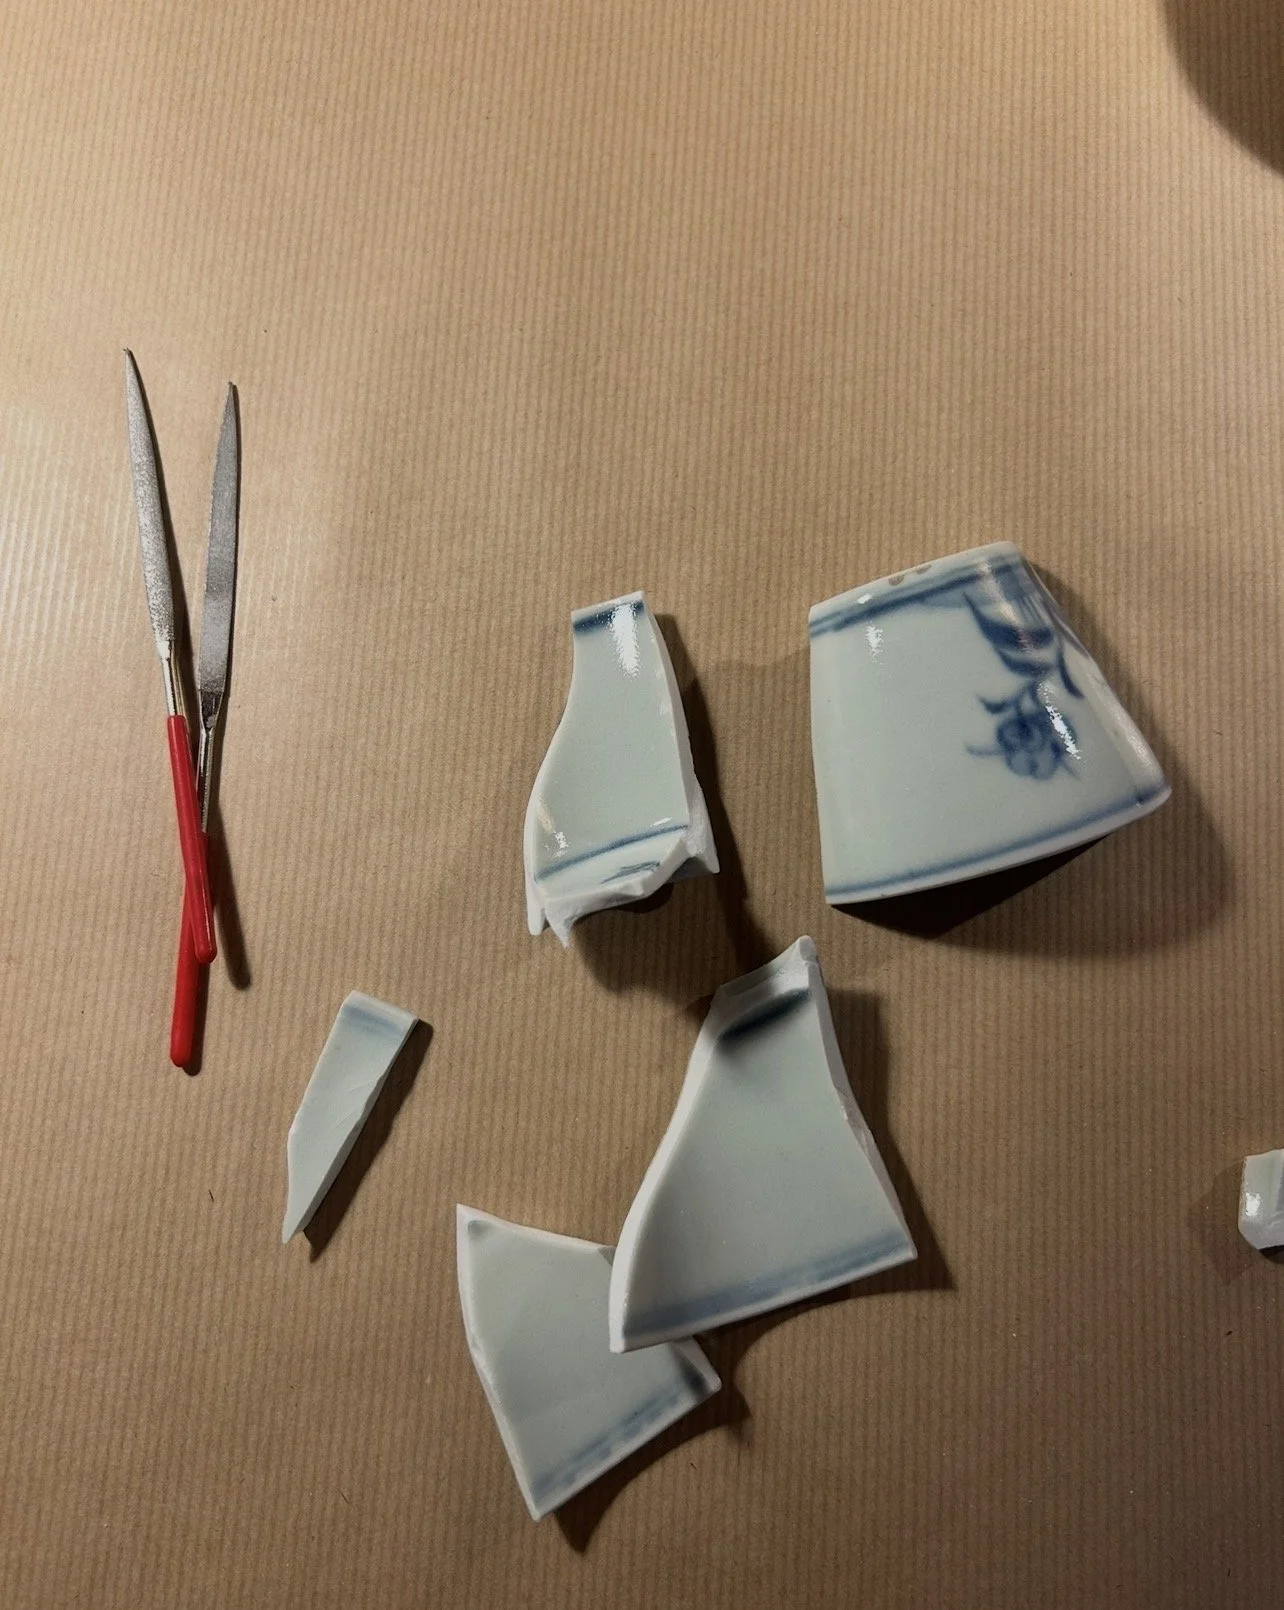
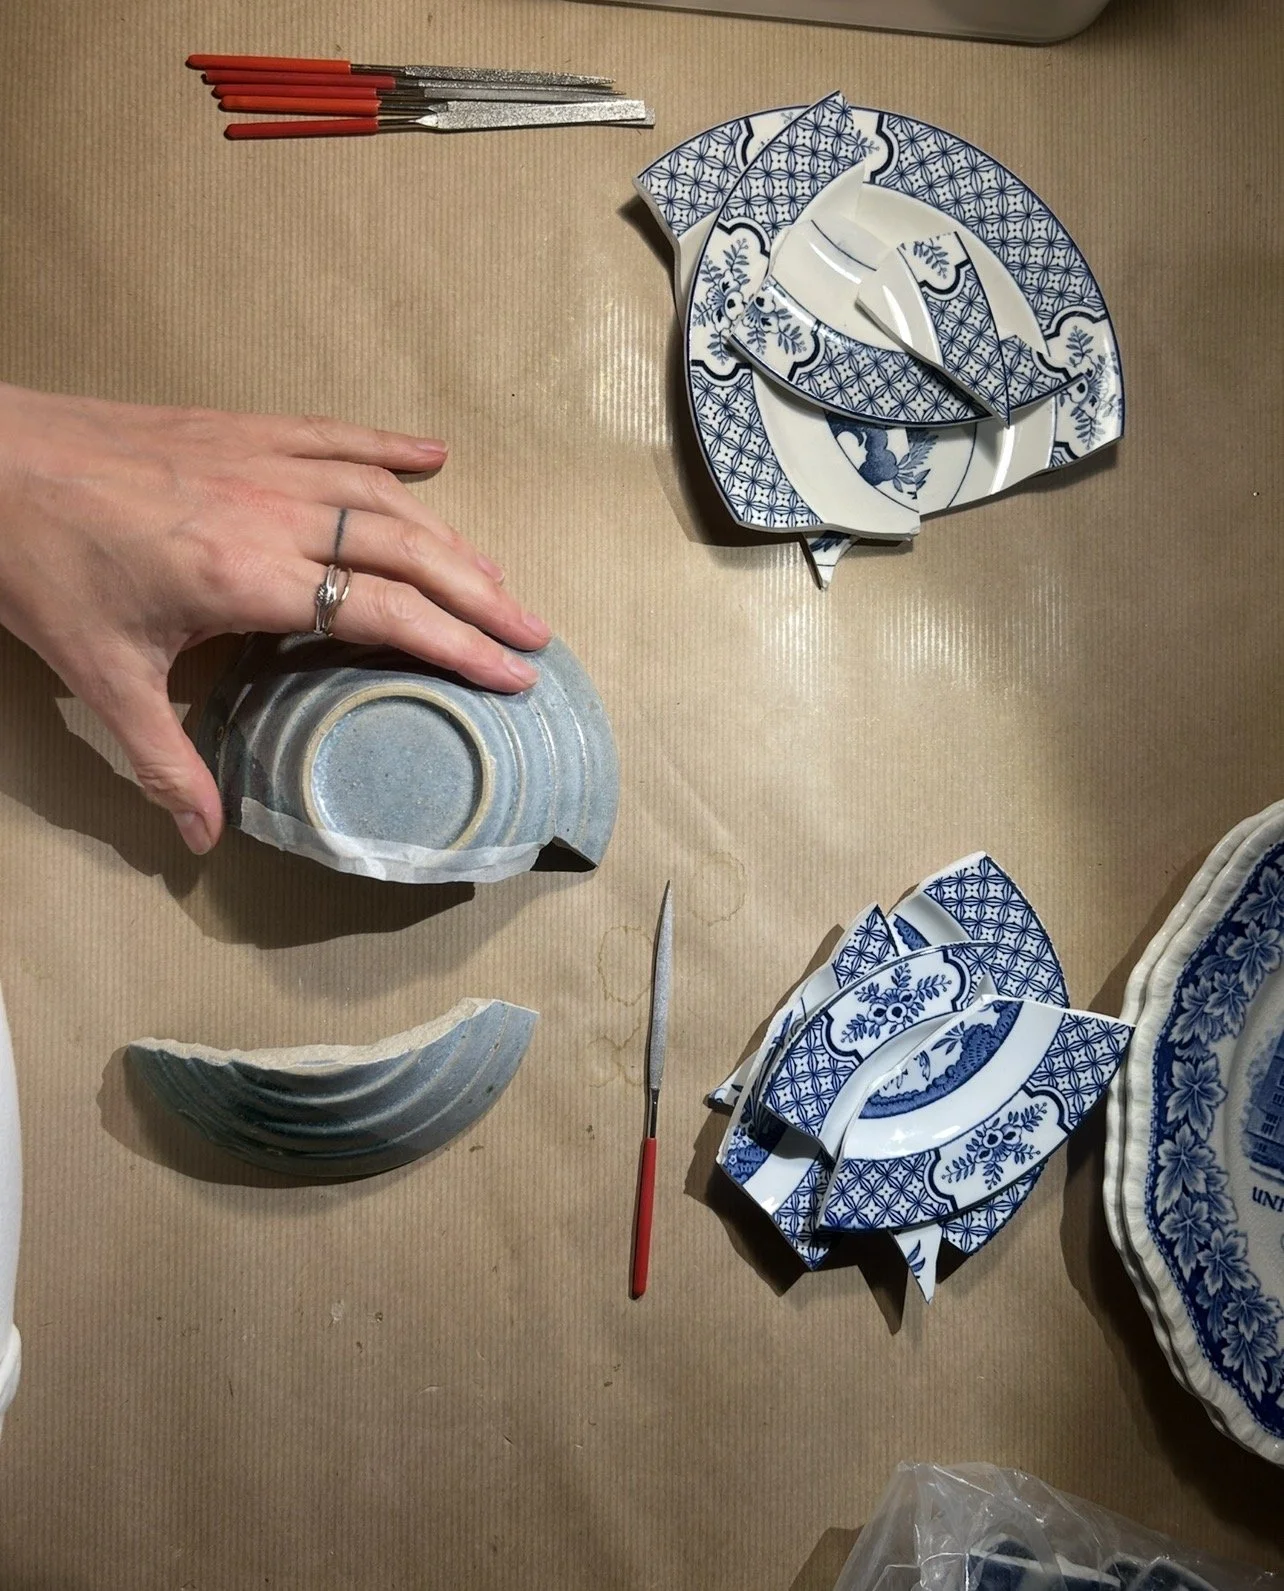
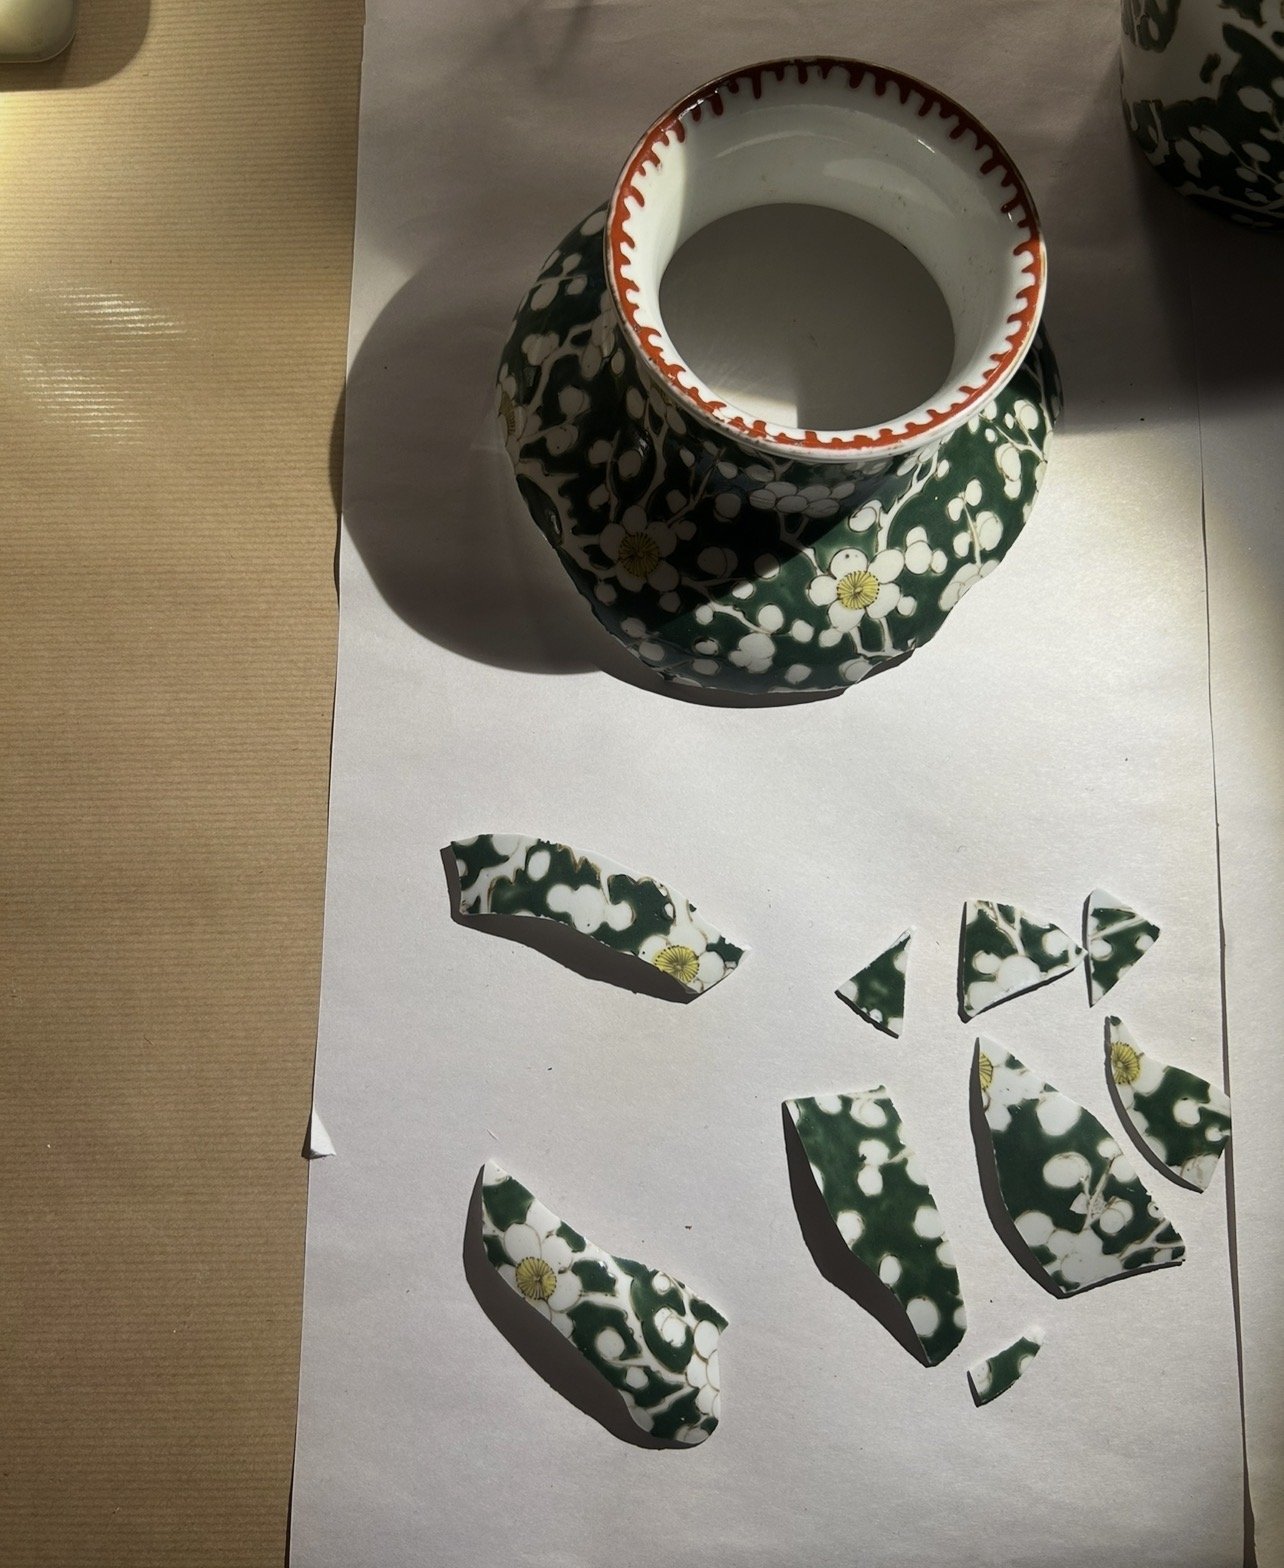
Each object has its own unique challenges, and while there will always be similarities that you can learn from, there is no exact template to follow. Largely, this is why the process of repair is so rewarding. The problem solving is the point. The thoughtfulness and intention you bring to each line pays dividends in the long-term satisfaction of seeing something you have lovingly restored being brought into use again.
At the assessment stage of the process, the full picture of the object must be looked at holistically. Everything from the age of the object to the fabric of the clay used will effect the final outcome, so its essential to pay attention and ask the right questions of the object.
There are some initial questions I always think about at the beginning, no matter how complex the repair is. What was this object used for? Scratches and chips on the surface need to be tended to differently than glaze which is fully intact. A rough stoneware may be more porous than a thin white ceramic. Are there any sneaky hairline cracks that will only show themselves once the assembly process has begun? Crackling on the glazed surface of a vase or bowl, appearing like the first spoon tap on the surface of crème brûlée, can certainly effect the way that urushi will be cleaned off the surface. If there are chips and losses to the surface, how will you prepare those areas for a successful fill? If its a very large loss, how will you future-proof that fill from (worst case scenario) popping out?
Another consideration is the object’s future use. Remember that lovely bowl you used to eat your cereal from every day, the one the cat swiped off the counter? Now languishing in a drawer somewhere, waiting to be repaired. There are many ways to resurrect an object into a working one again, but some important questions about food safety must be addressed. While a long-form traditional kintsugi repair is, in my opinion, the only truly food-grade safe repair method, there are certainly ways to improve the food safety of your repairs. By utilizing the beauty and anti-bacterial properties of urushi, combined with our favourite food-safe finishings (24k Gold powder and silver) your repair can be incorporated back into your kitchen for many years of use once again.
Think of assessment as looking at the road map of where your repair should start and finish. Giving all these things consideration at this stage will show you where the traffic jams could potentially be, making the journey much smoother.
PREPARATION
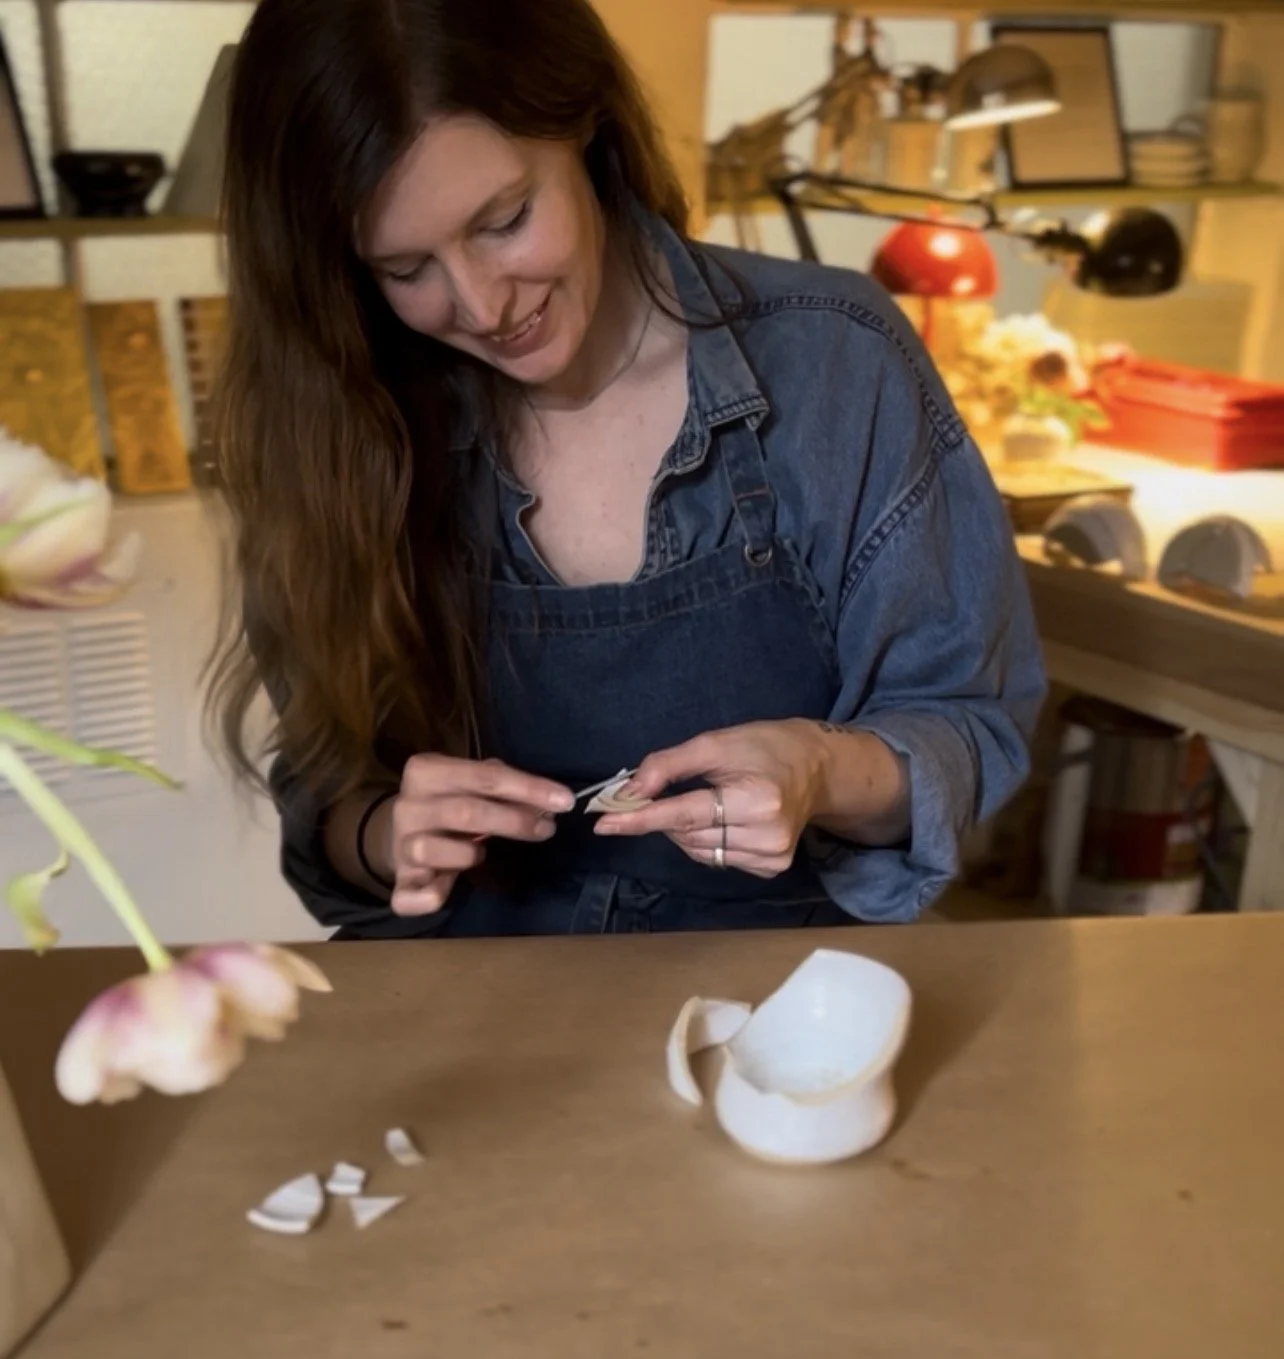
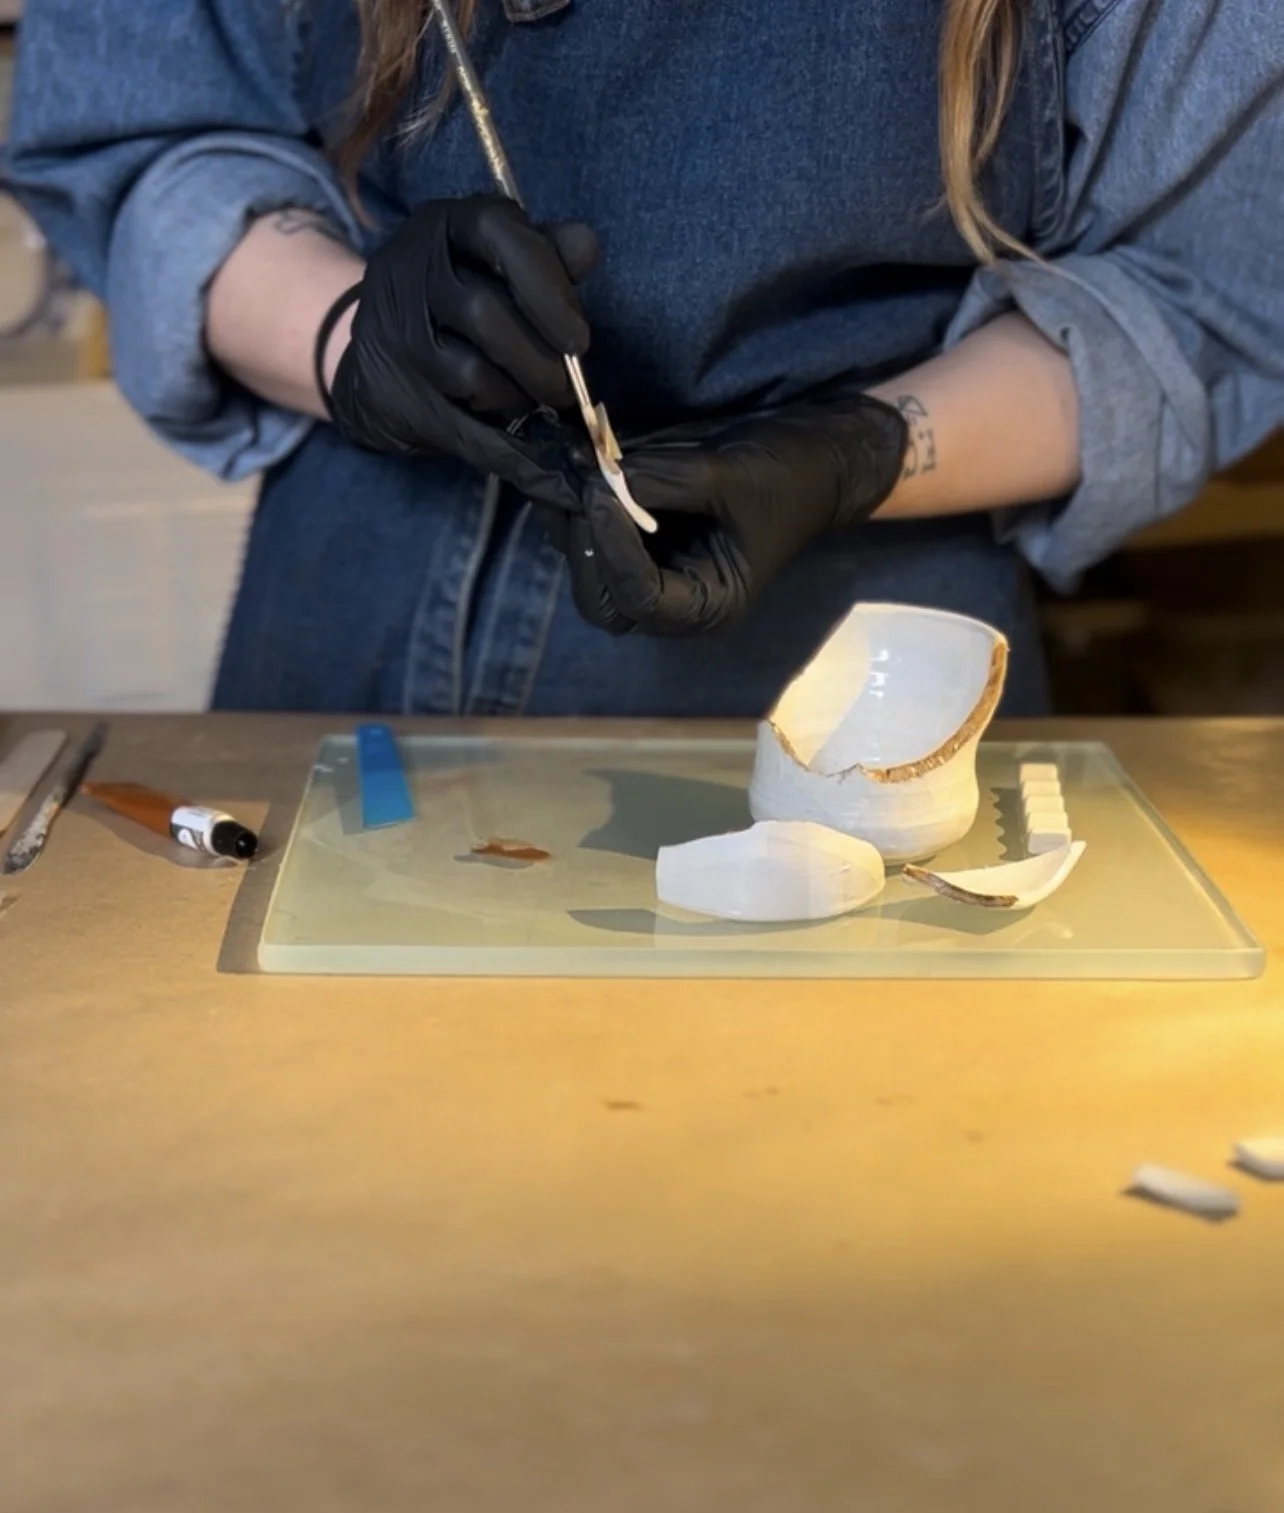
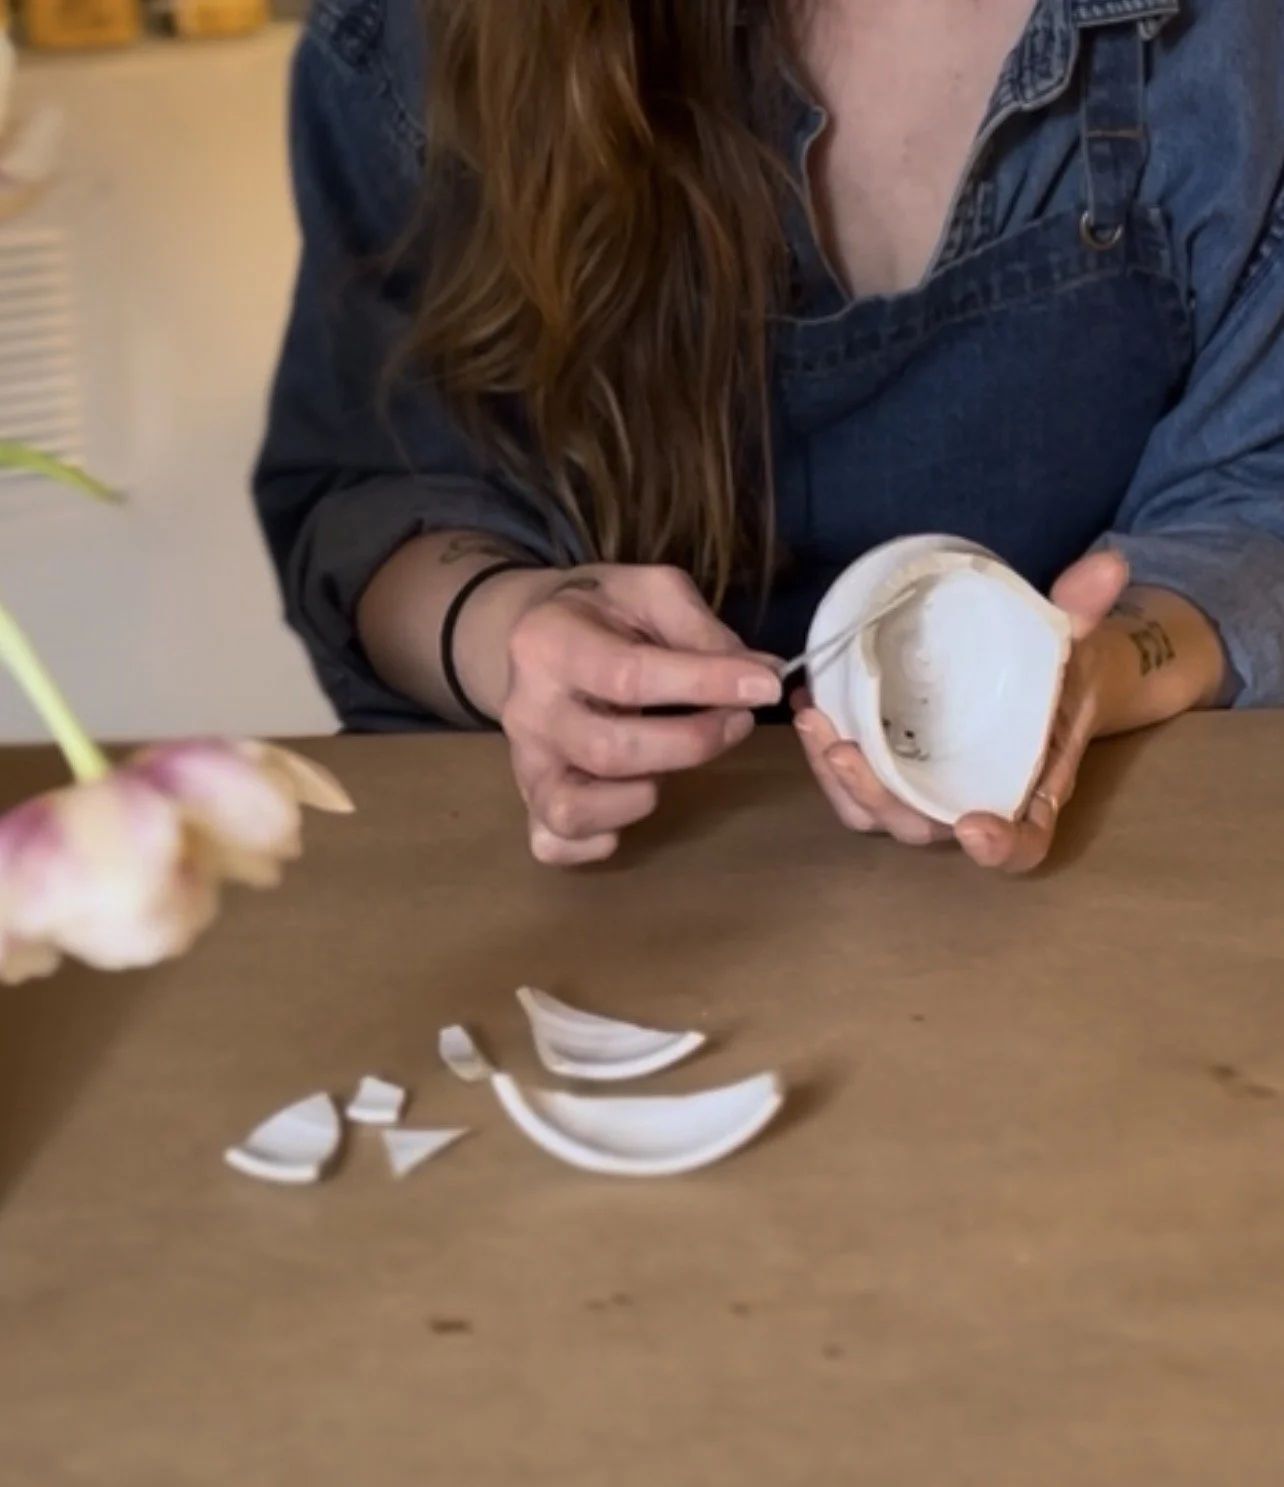
Once you have laid out the roadmap of your repair, it’s time to pack the car. I know metaphors are getting thrown around here liberally, so hopefully you are still with me.
After taking a good long look at all the potential pitfalls and snags that could arise, you are ready to roll. Protecting yourself, and your surfaces, particularly if you are venturing into using traditional materials, is essential. Many people don’t know this, but urushi lacquer, the keystone material in traditional versions of kintsugi repair, is a cytotoxic material. This means that for some folks, urushi will behave like poison oak if it comes into direct contact with your skin causing an uncomfortable rash. I must say as a practitioner who uses urushi every week, I haven’t experienced this (yet), and I put that down to my respect and care for the material. I cover the health and safety of this magical material more thoroughly in our workshops, but I can say that the small amounts needed for typical repairs usually helps keep things under control.
Once you have protected your surfaces (newspaper does the trick) and yourself (long sleeves, gloves) let’s now work on preparing your object. Keeping in mind that this is not a step-by-step manual, but simply an overview of all the steps we tackle within a typical day session, here I will just say that this is where the assessment step pays off. Once you know, for instance, that your repair has a scratched and vulnerable surface, you will now be able to protect it. Taping off, masking or otherwise protecting your surfaces depending on the object’s unique needs will save you frustration and heartache in the future.
As certain modern and traditional materials do not adhere well to glaze, it is in the preparation step that we prepare our lines to accept the base of our line work. This might involve filing edges using diamond files, using glues to protect edges of glaze, and depending on how porous your ceramic is, sealing vulnerable surfaces.
You will see during the next step that preparation of the line is essential. As I always say, everything has a roll-on effect, so the work you do to prepare will pay off hugely in your finished line.
ASSEMBLY
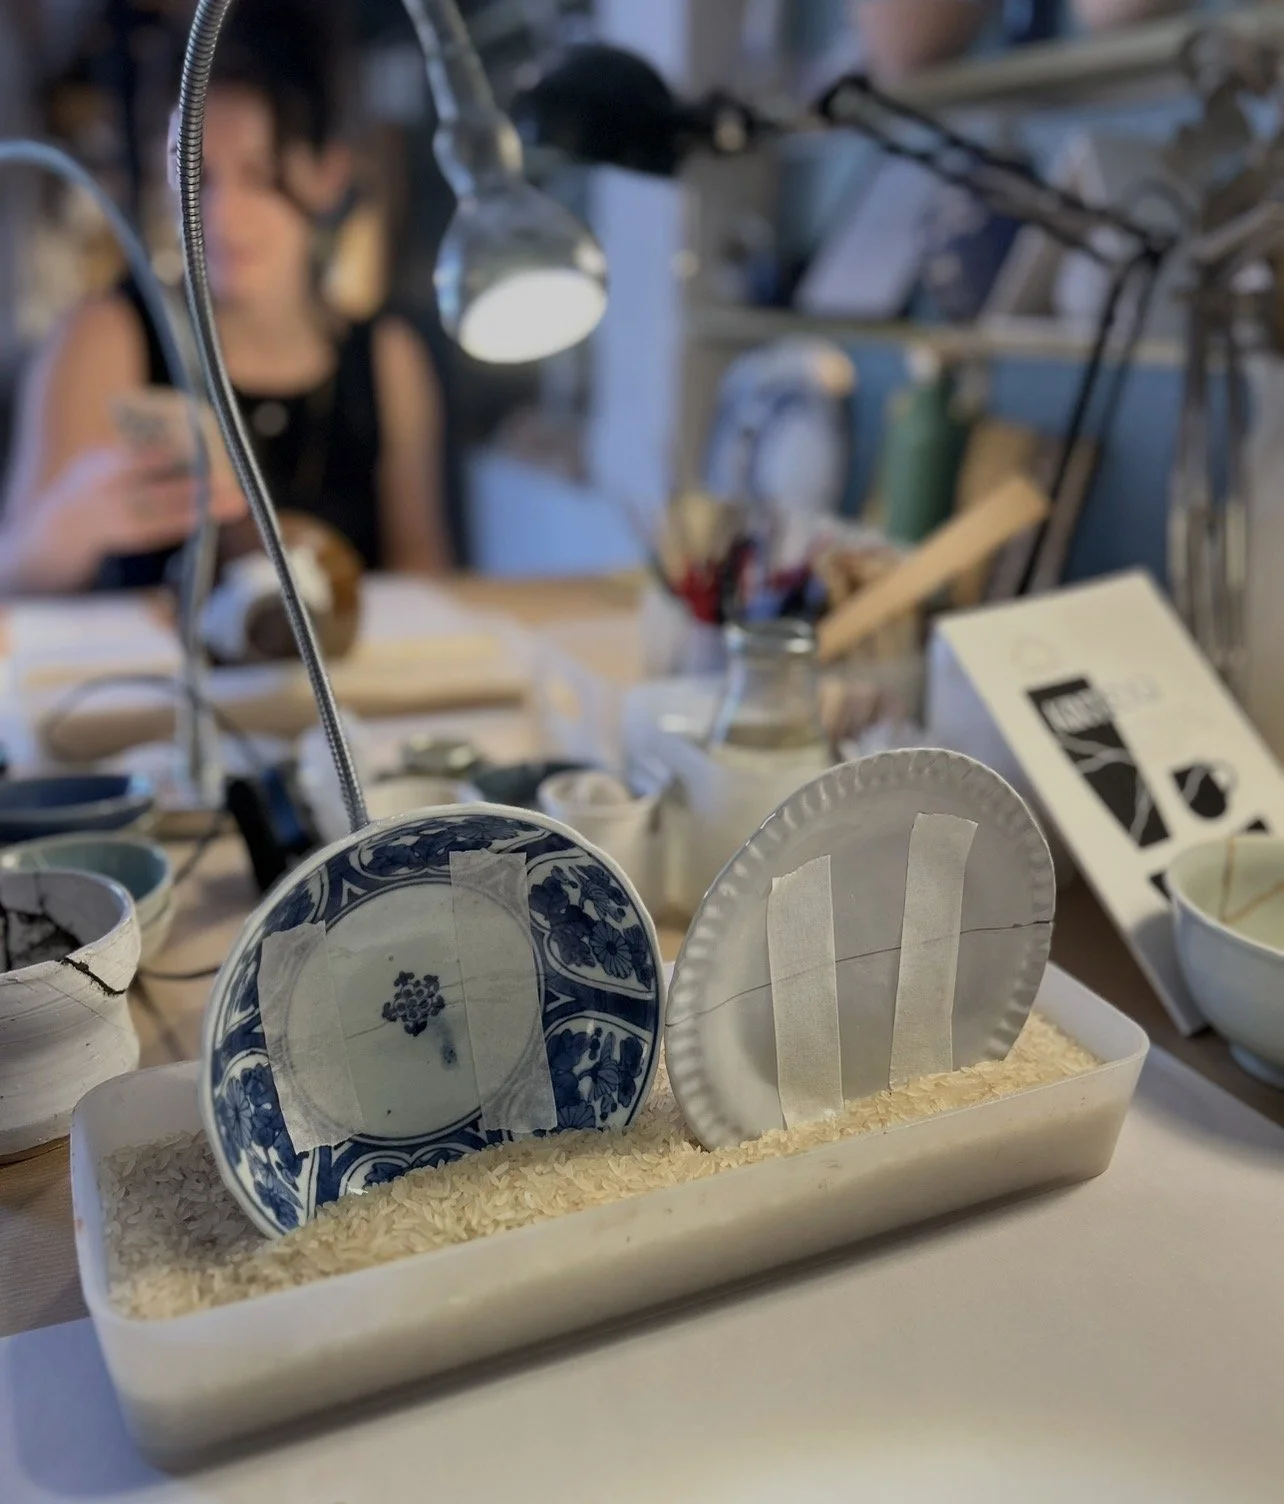
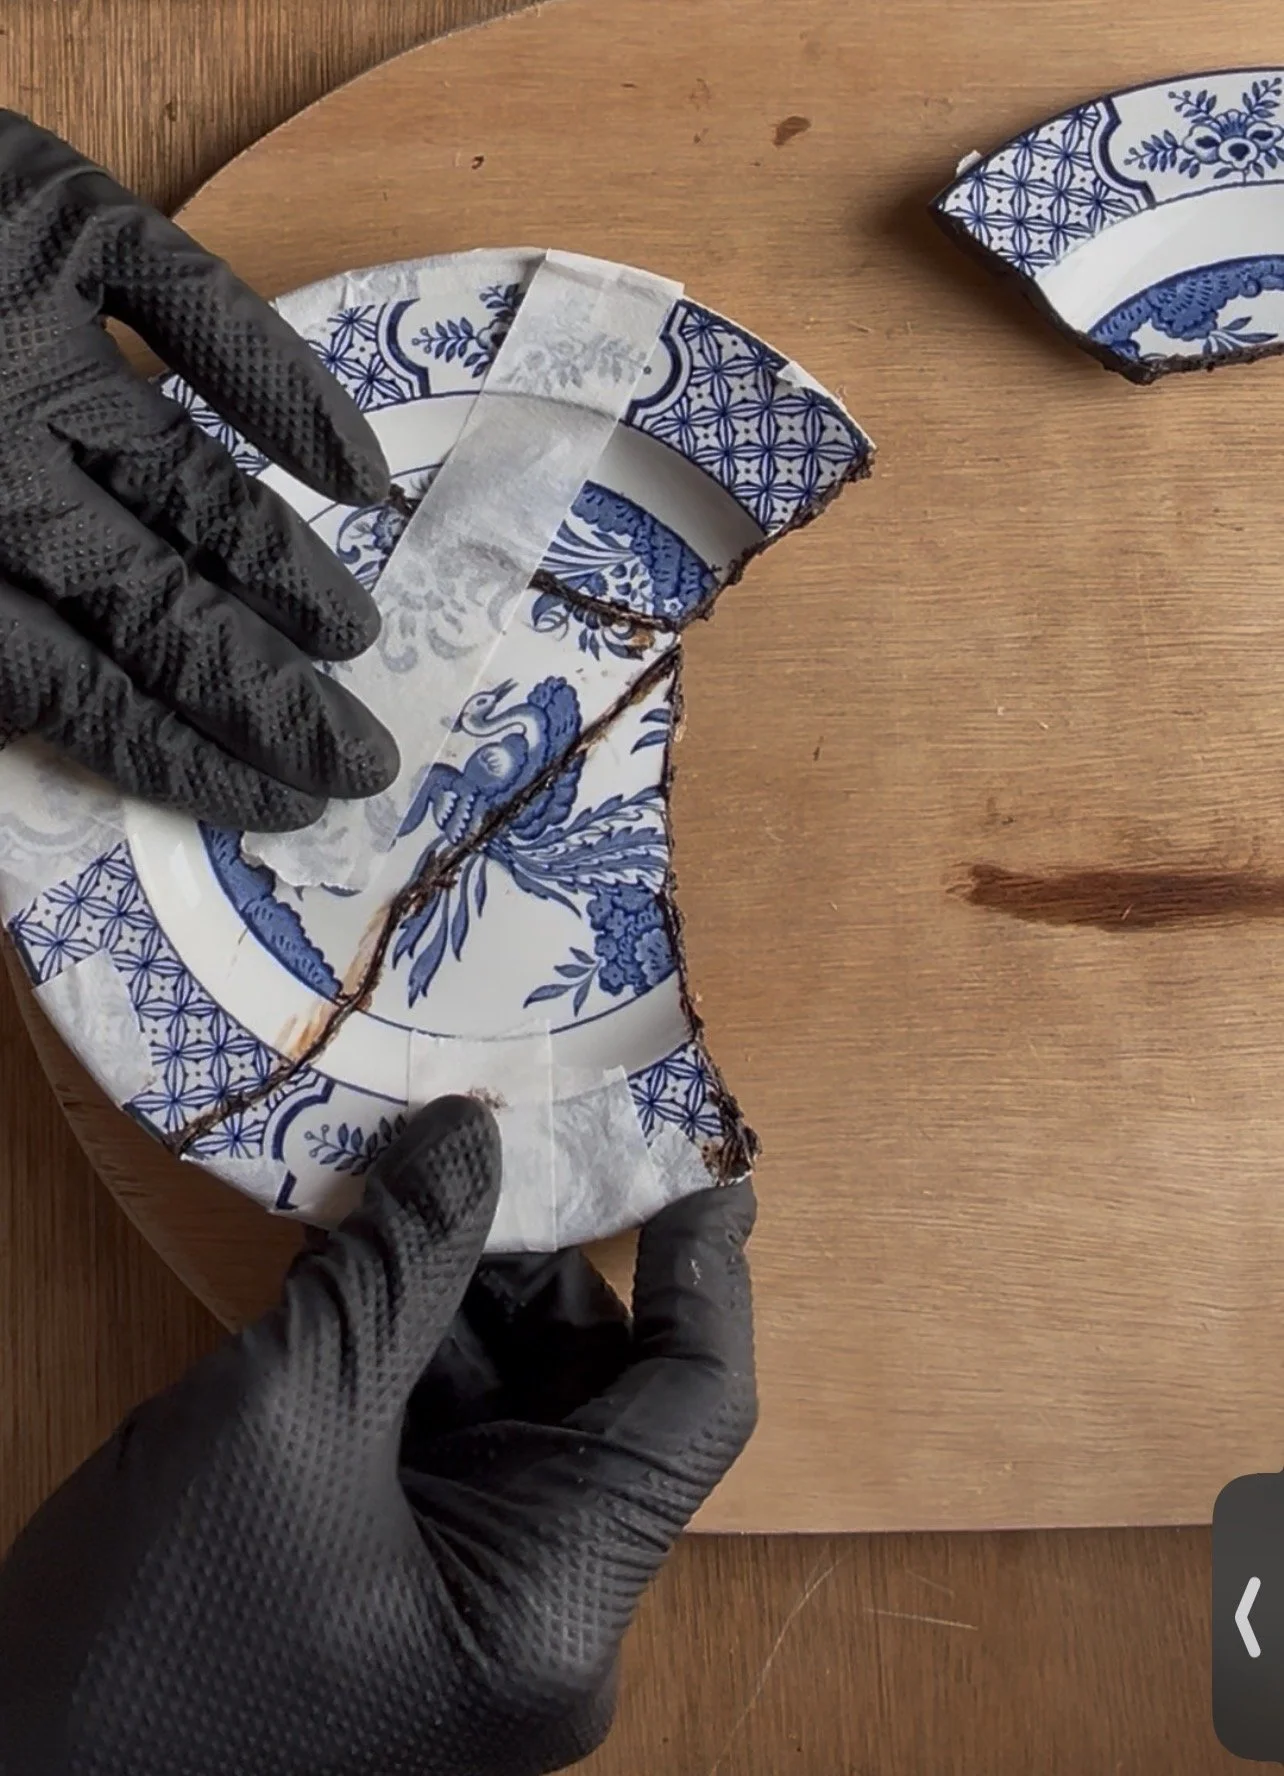
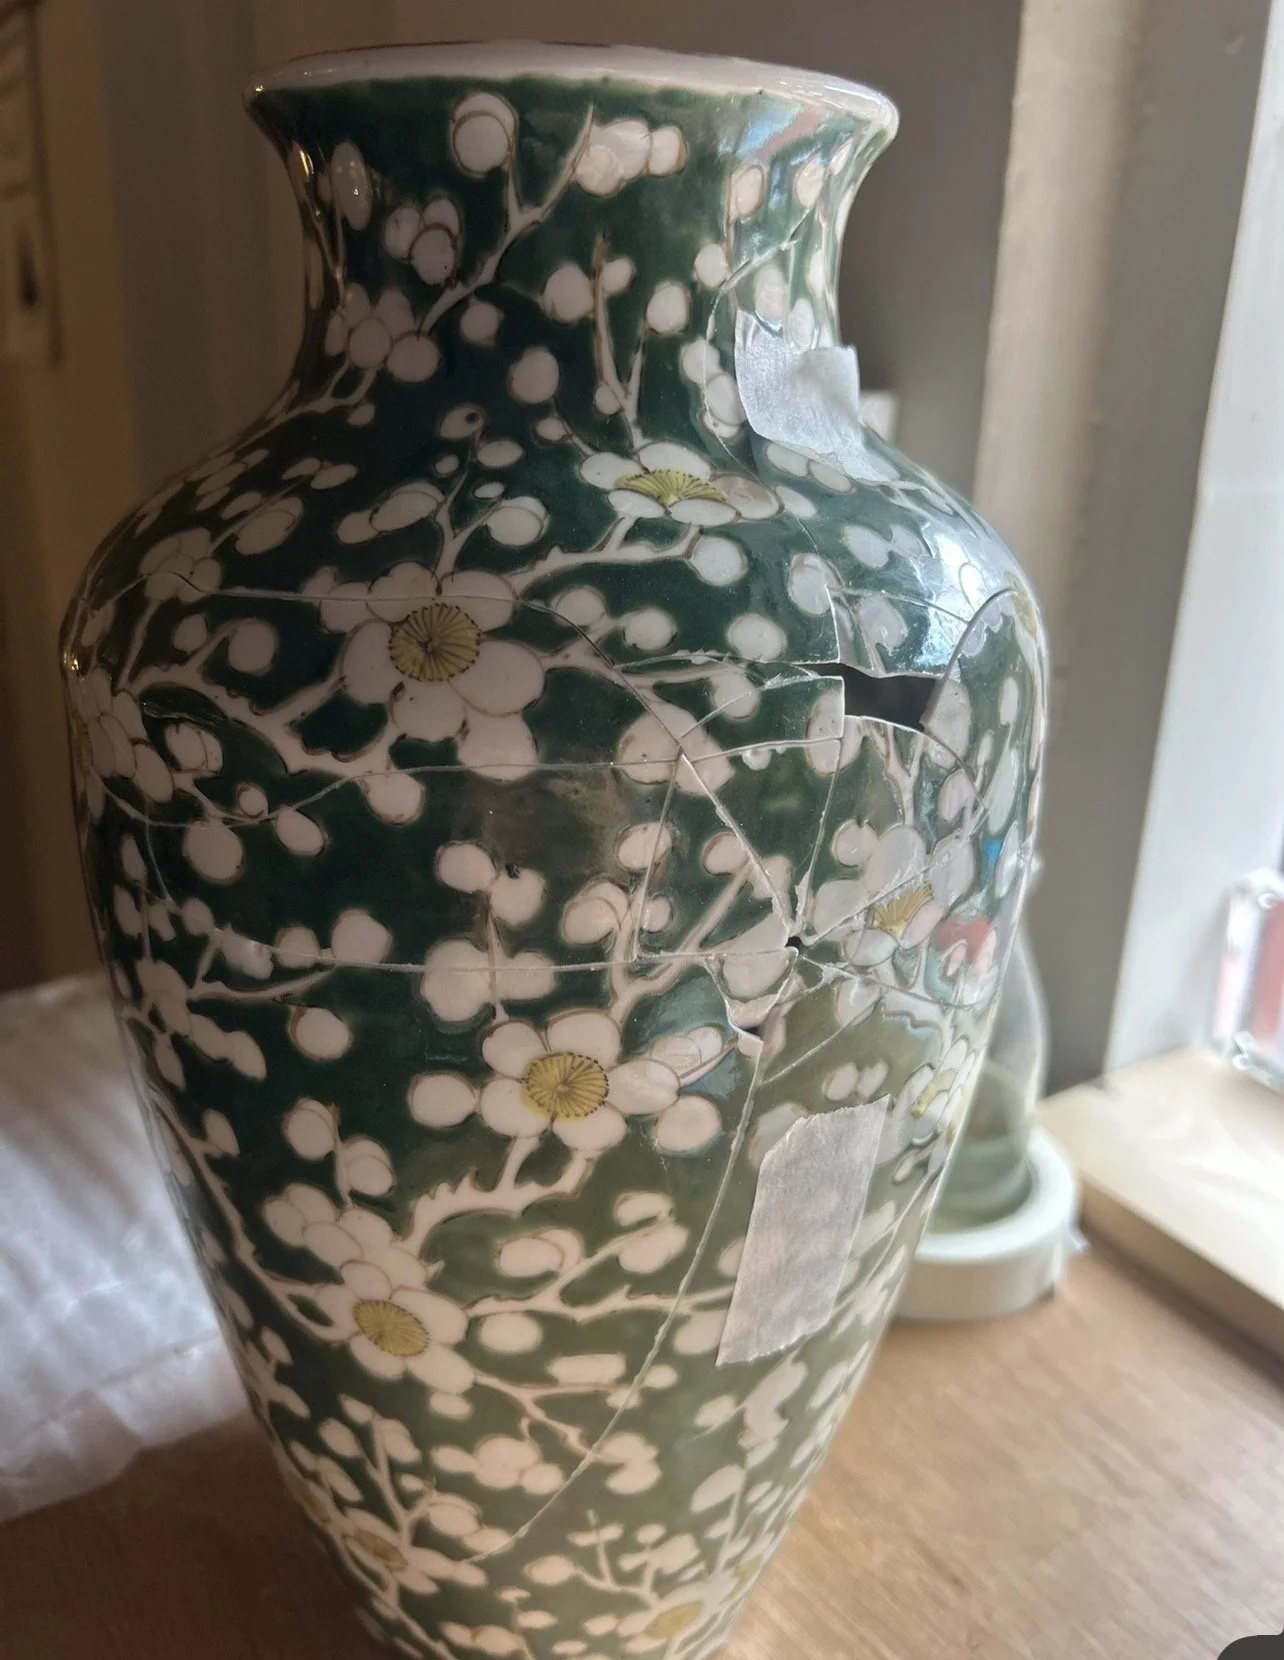
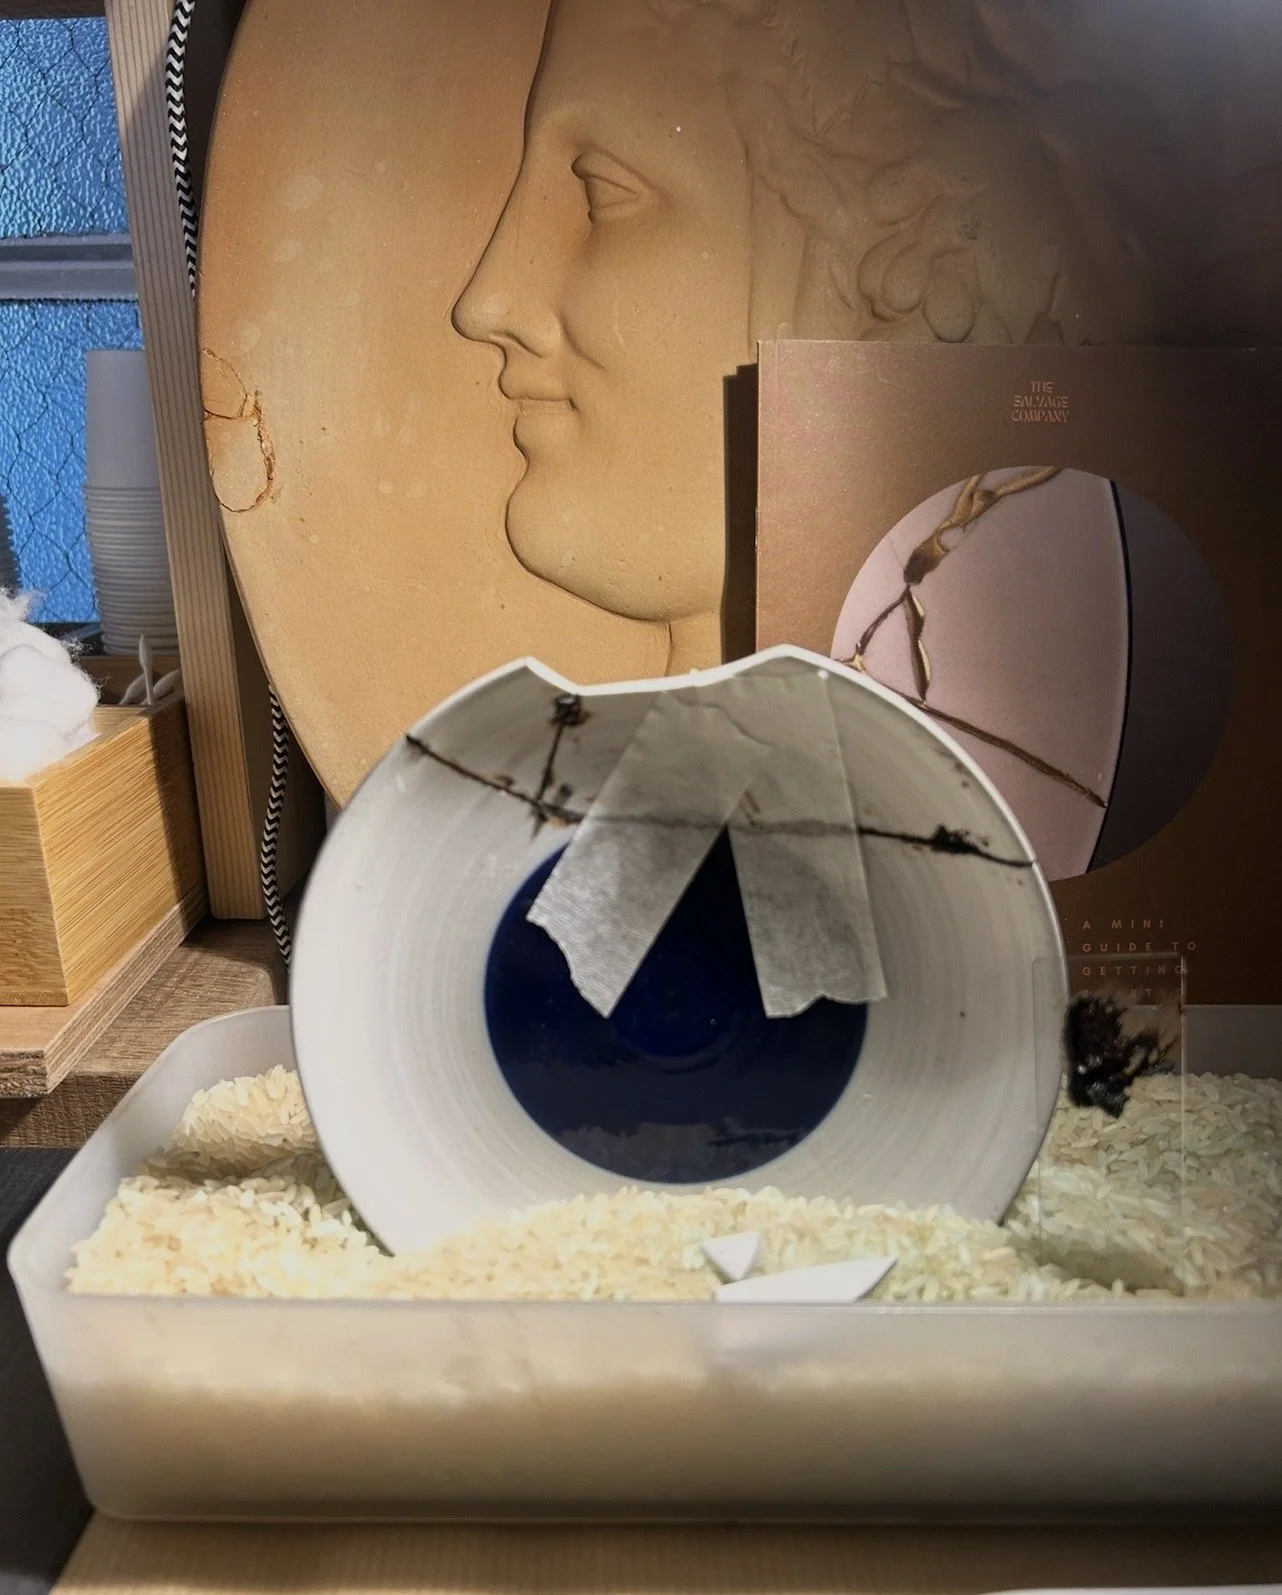
Finally, we come to what is potentially the most consequential step of the process. Assembly and allignment.
The assembly provides the bones upon which your repair lines will sit, so paying close attention at this stage is essential. Assembly and allignment of your sections go hand-in-hand, as both are tackled at the same time. Depending on the variation of kintsugi repair you are practicing, and which version of traditional repair best suits your object, you will have varying amounts of time to get this part right. One of the benefits of a long-form traditional repair is that once the curing process begins, you still have time to disassemble your pieces if things have not aligned properly and repeat the process again. I know what you’re thinking, who has the patience for that? Well, I would argue that with practice, you do.
This stage of repair reminds me of when I was 12 years old. I was awkward, chubby, and I had too many teeth. So many that they stacked and overlapped in my mouth. I had to have 3 removed before I could even get braces. 2 agonising years later my teeth were straight (thanks mom and dad!) and while i can barely remember the embarrassment of having the braces, I am still left with the lovely result. So you can take my word on this, investing the time to align things properly will leave you with only glowing pride at the results, and almost no memory of the frustration it took to get there.
In our beginners kintsugi workshops I am always going on about ‘lock out’. This is a phenomenon which happens when we do not properly consider order during assembly, and you end up with pieces that wont fit properly or only fit at a wonky angle. Imagine teeth needing braces - this is what can potentially happen if alignment is neglected. Steps, gaps, misaligned sections, and worse…lock out. So give it your full attention. I will always, when possible, err on the side of disassembling my piece once initial alignment is done, even if things are off by just a few millimeters. This will save you so much heartache and frustration during the next steps that this amount of due diligence is always worth it.
FILLING
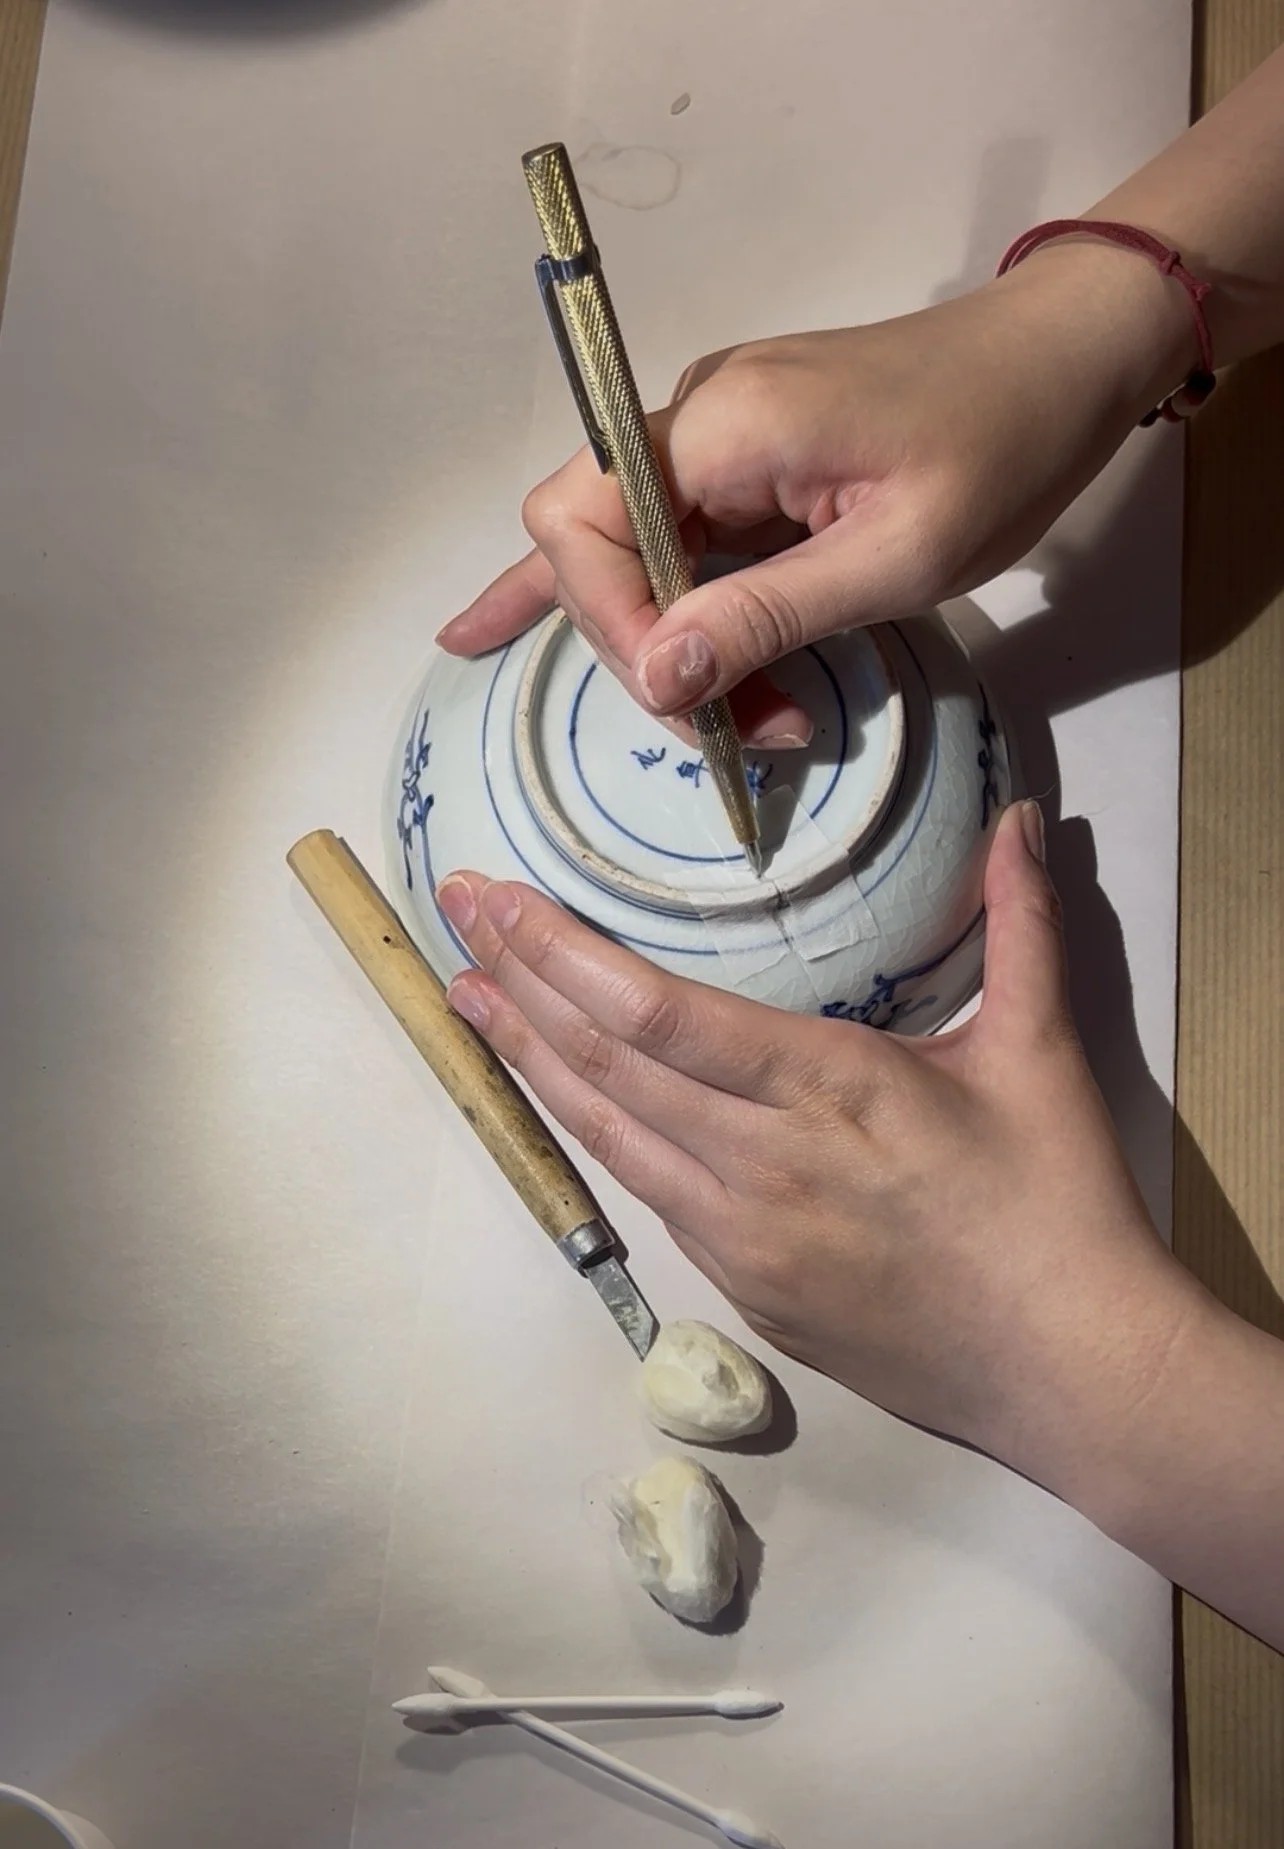
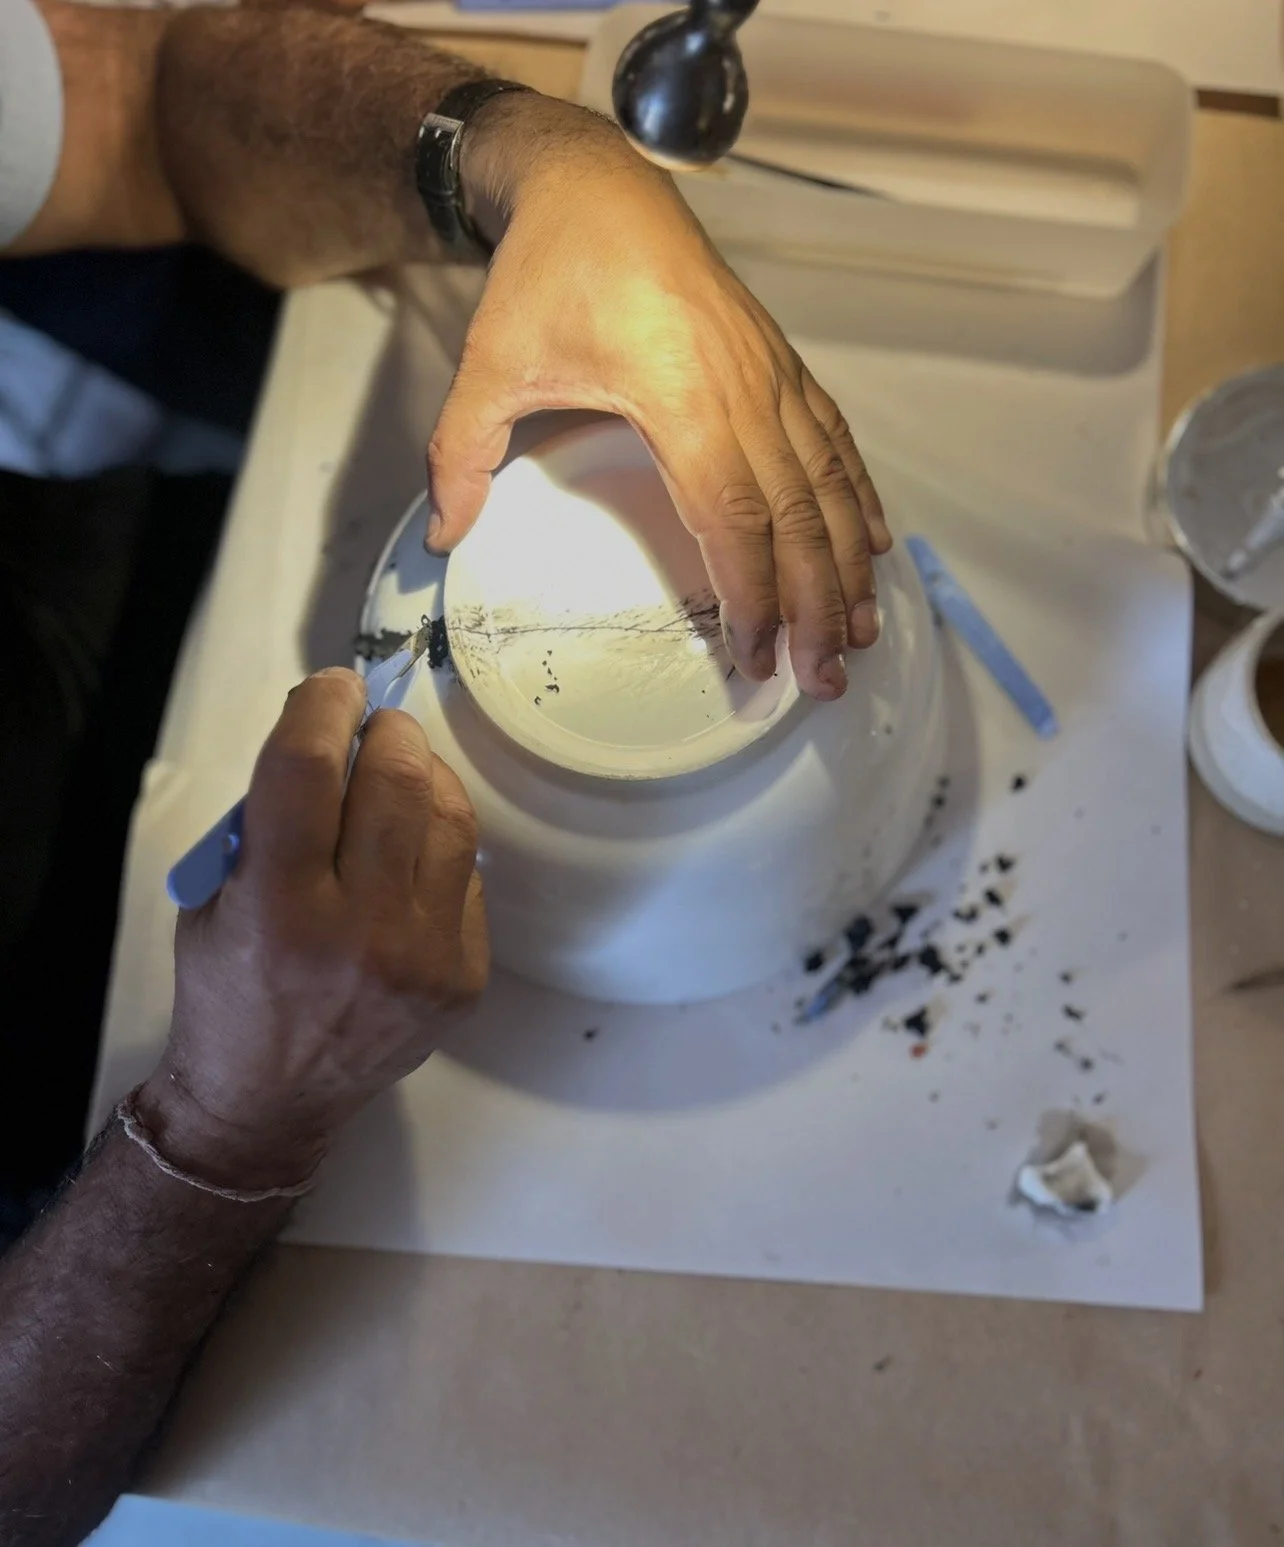
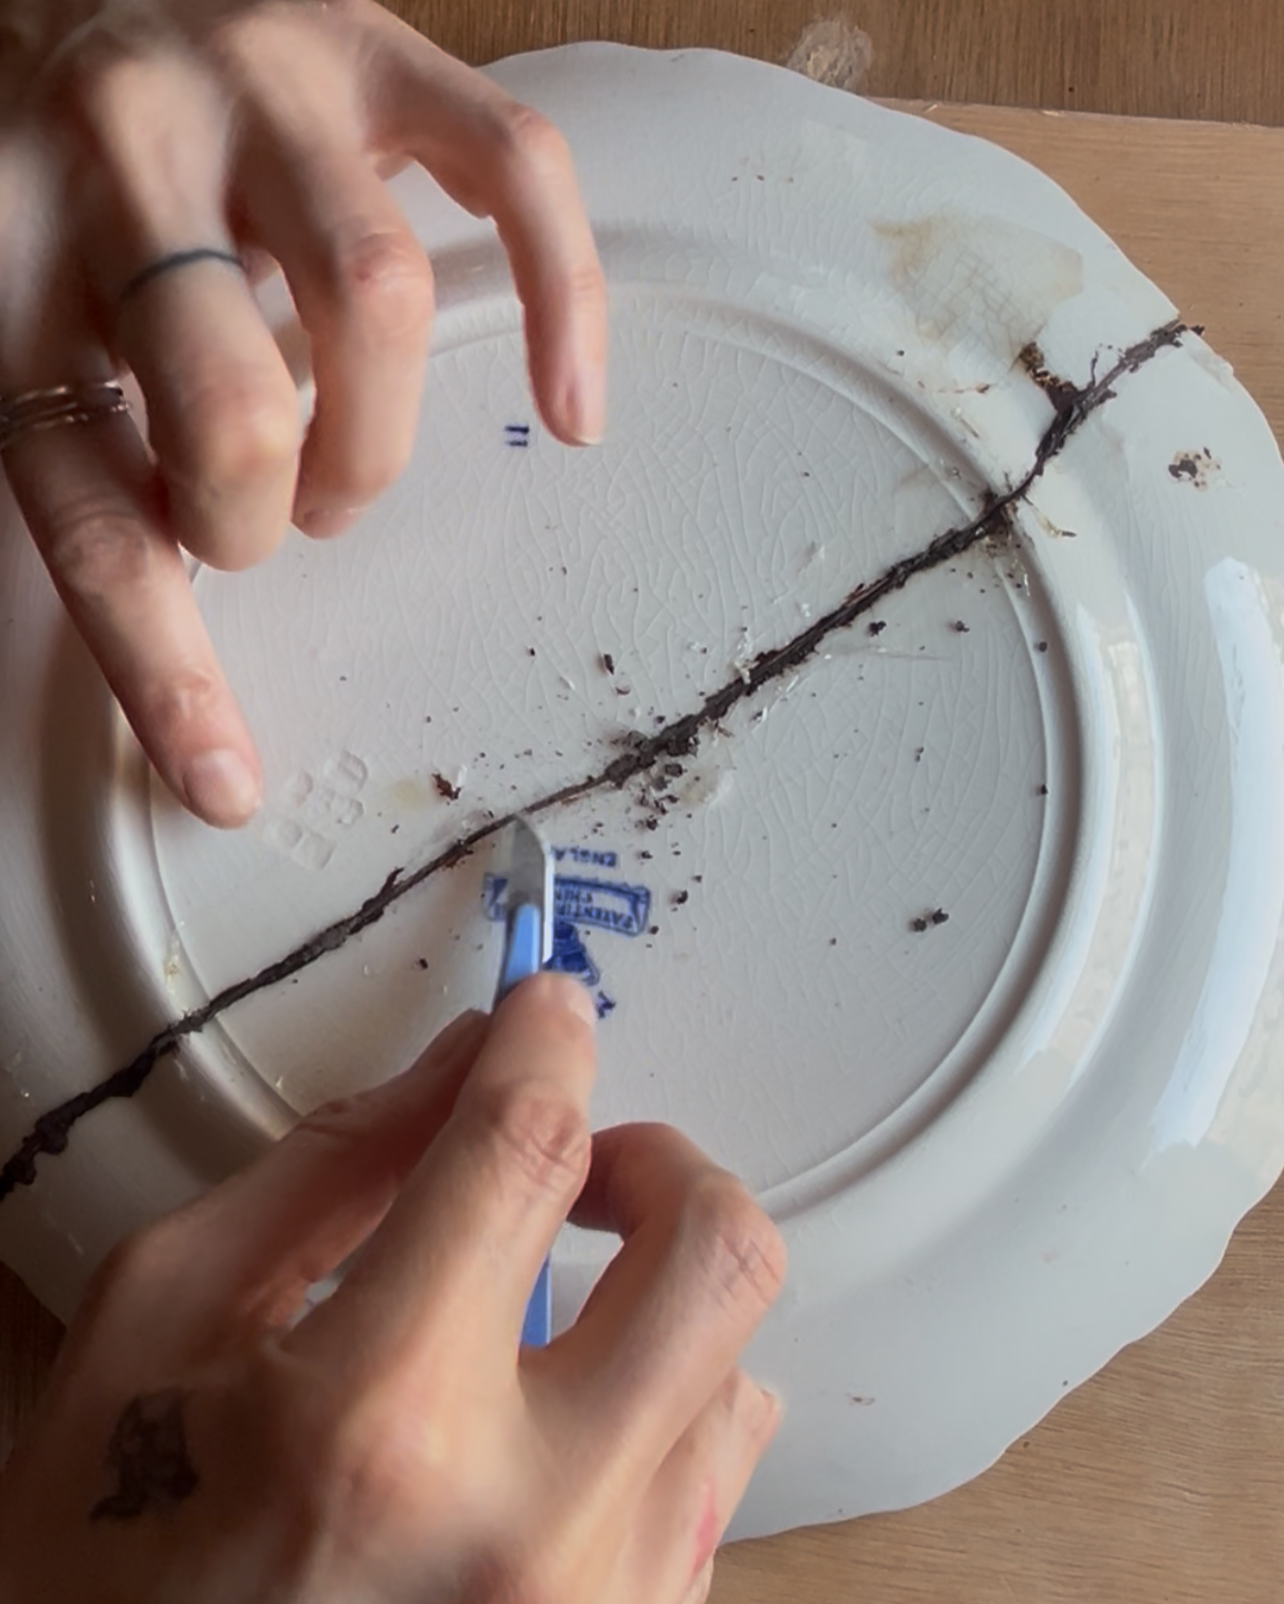
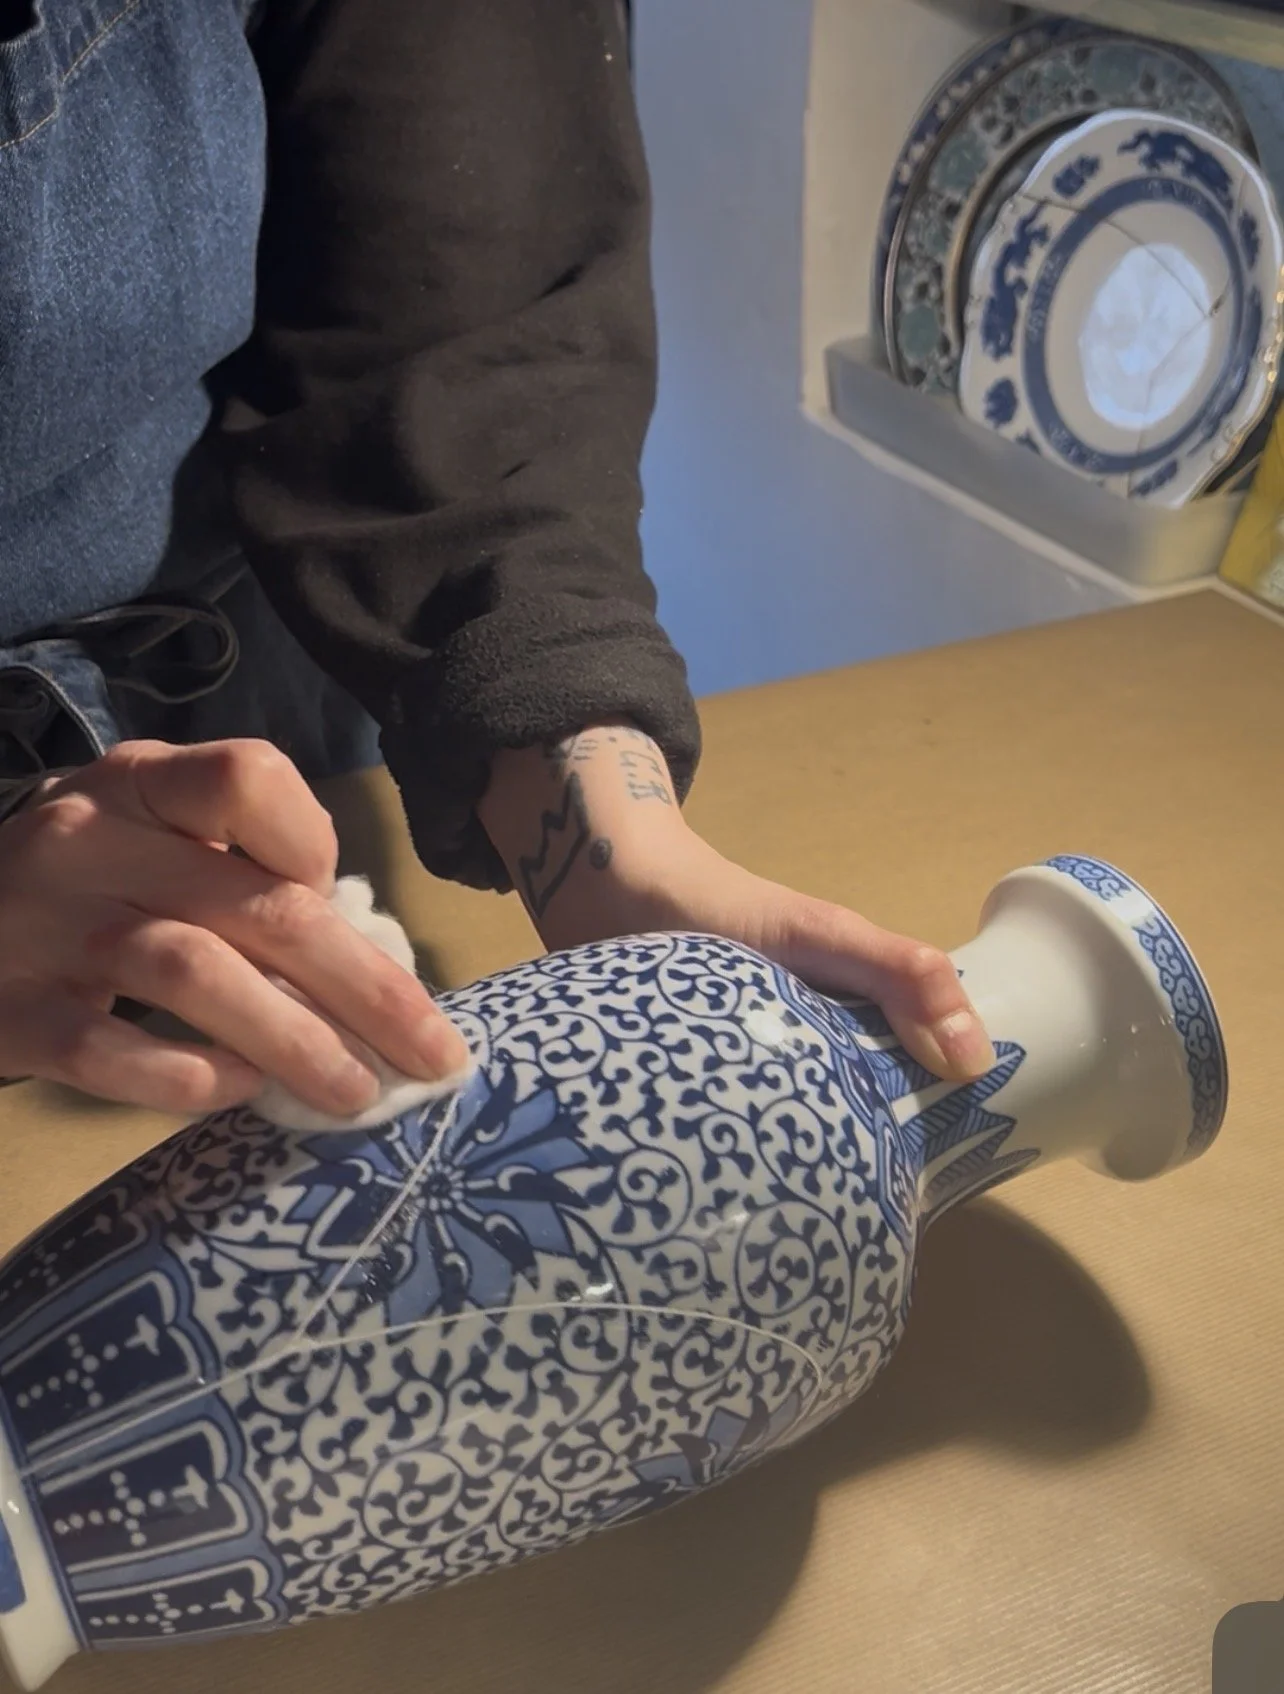
Now that the future structural stability of your repair is established, this is where things get satisfying. Now, imagine trying to apply a coat of paint to a surface like astroturf. Every little fibre of that material would stand out like a sore thumb under the paint, no matter how many coats you apply. This is what you are effectively dealing with if you neglect the filling stage. Each line of your Kintsugi repair needs a lovely base to sit on top of. Your line when finished will have a smooth and glossy surface (ideally). This is a result of filling in any tiny gaps in the line and resolving any areas of roughness or hollowing out.
Sometimes I just refer to this as the sabi-urushi step, as this is the material most typically used at this stage. A soft paste made of a blend of tonoko powder and urushi, this mixture will be spread evenly over any areas to gap fill and provide a finish ready for polishing. There are quite a few materials available for polishing your line, Japanese magnolia charcoal is the gold standard, and the one I prefer. You can also use micromesh, polishing paste, and to a lesser extent sandpaper. Whichever you choose, the most important thing is to get your line as smooth as possible. When using modern materials for this stage, I find smoothing the line while it is still workable is really handy. Whatever method you choose, all roads lead up to the next and final step of the processing. The step that will reveal all of the hard work put into that line.
FINISHING
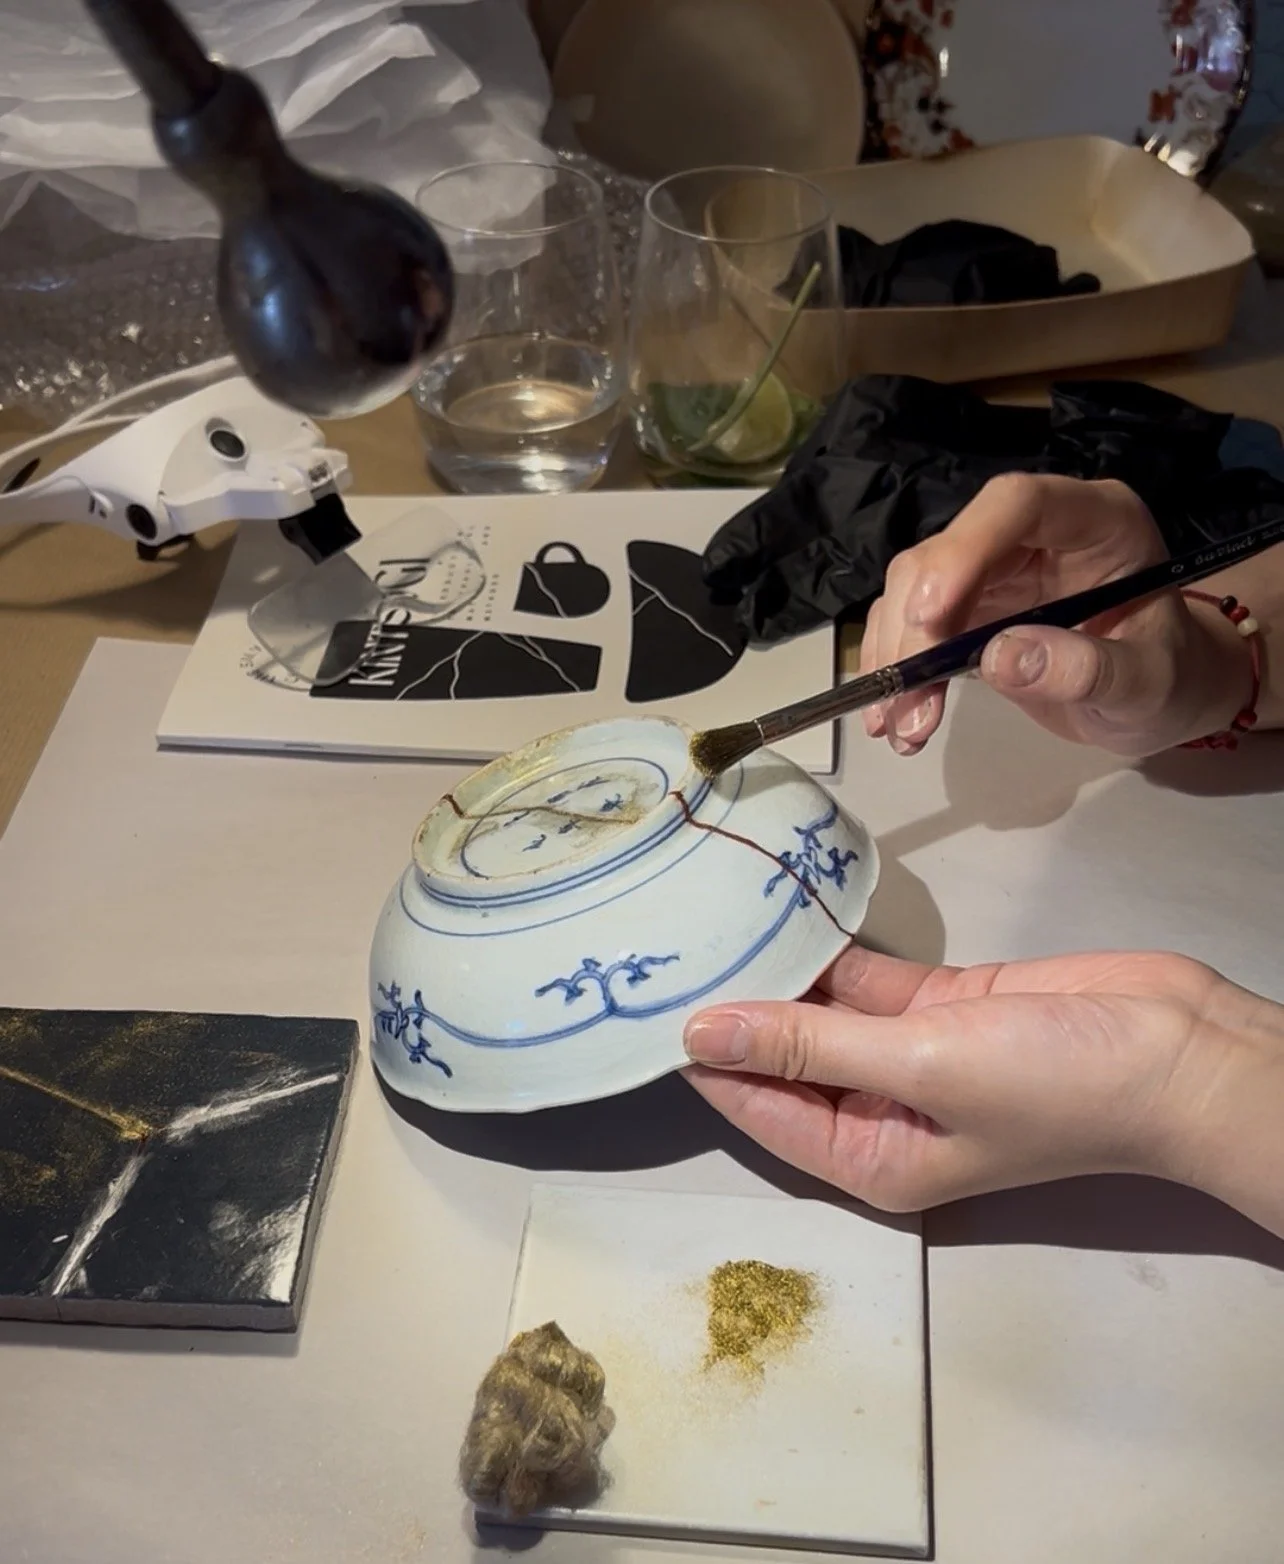
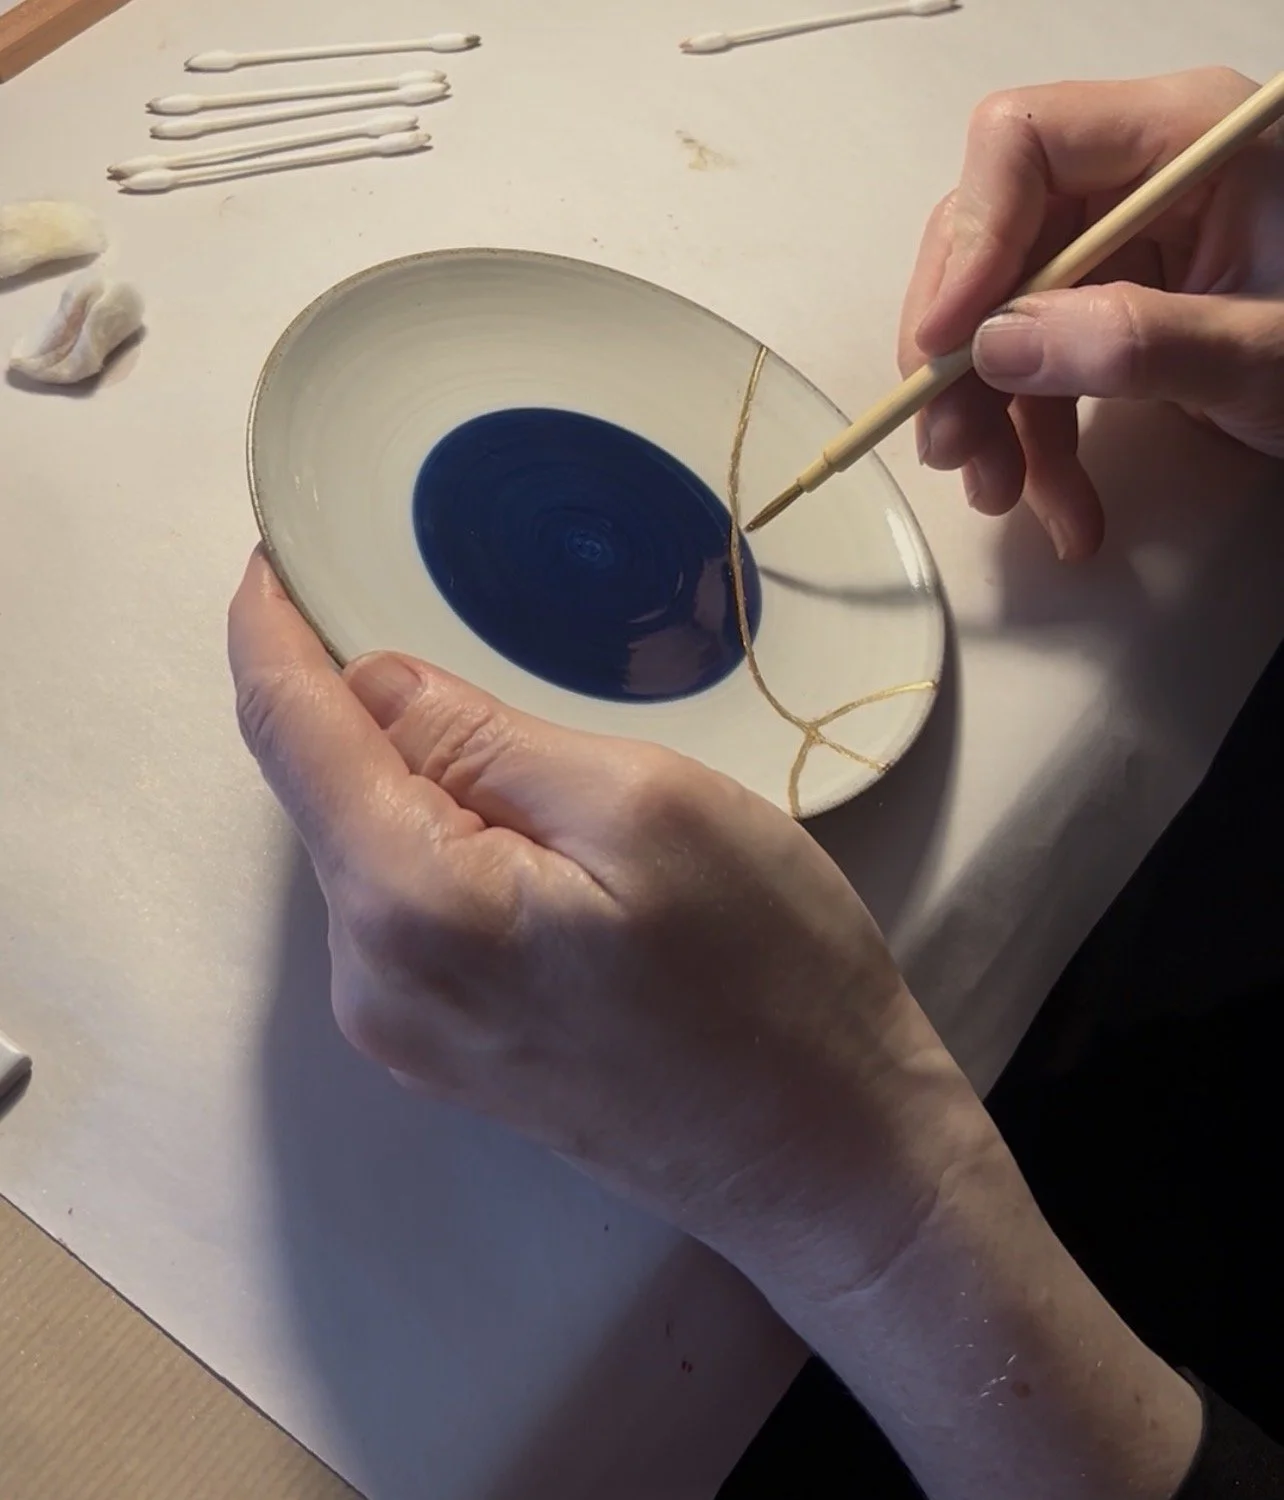
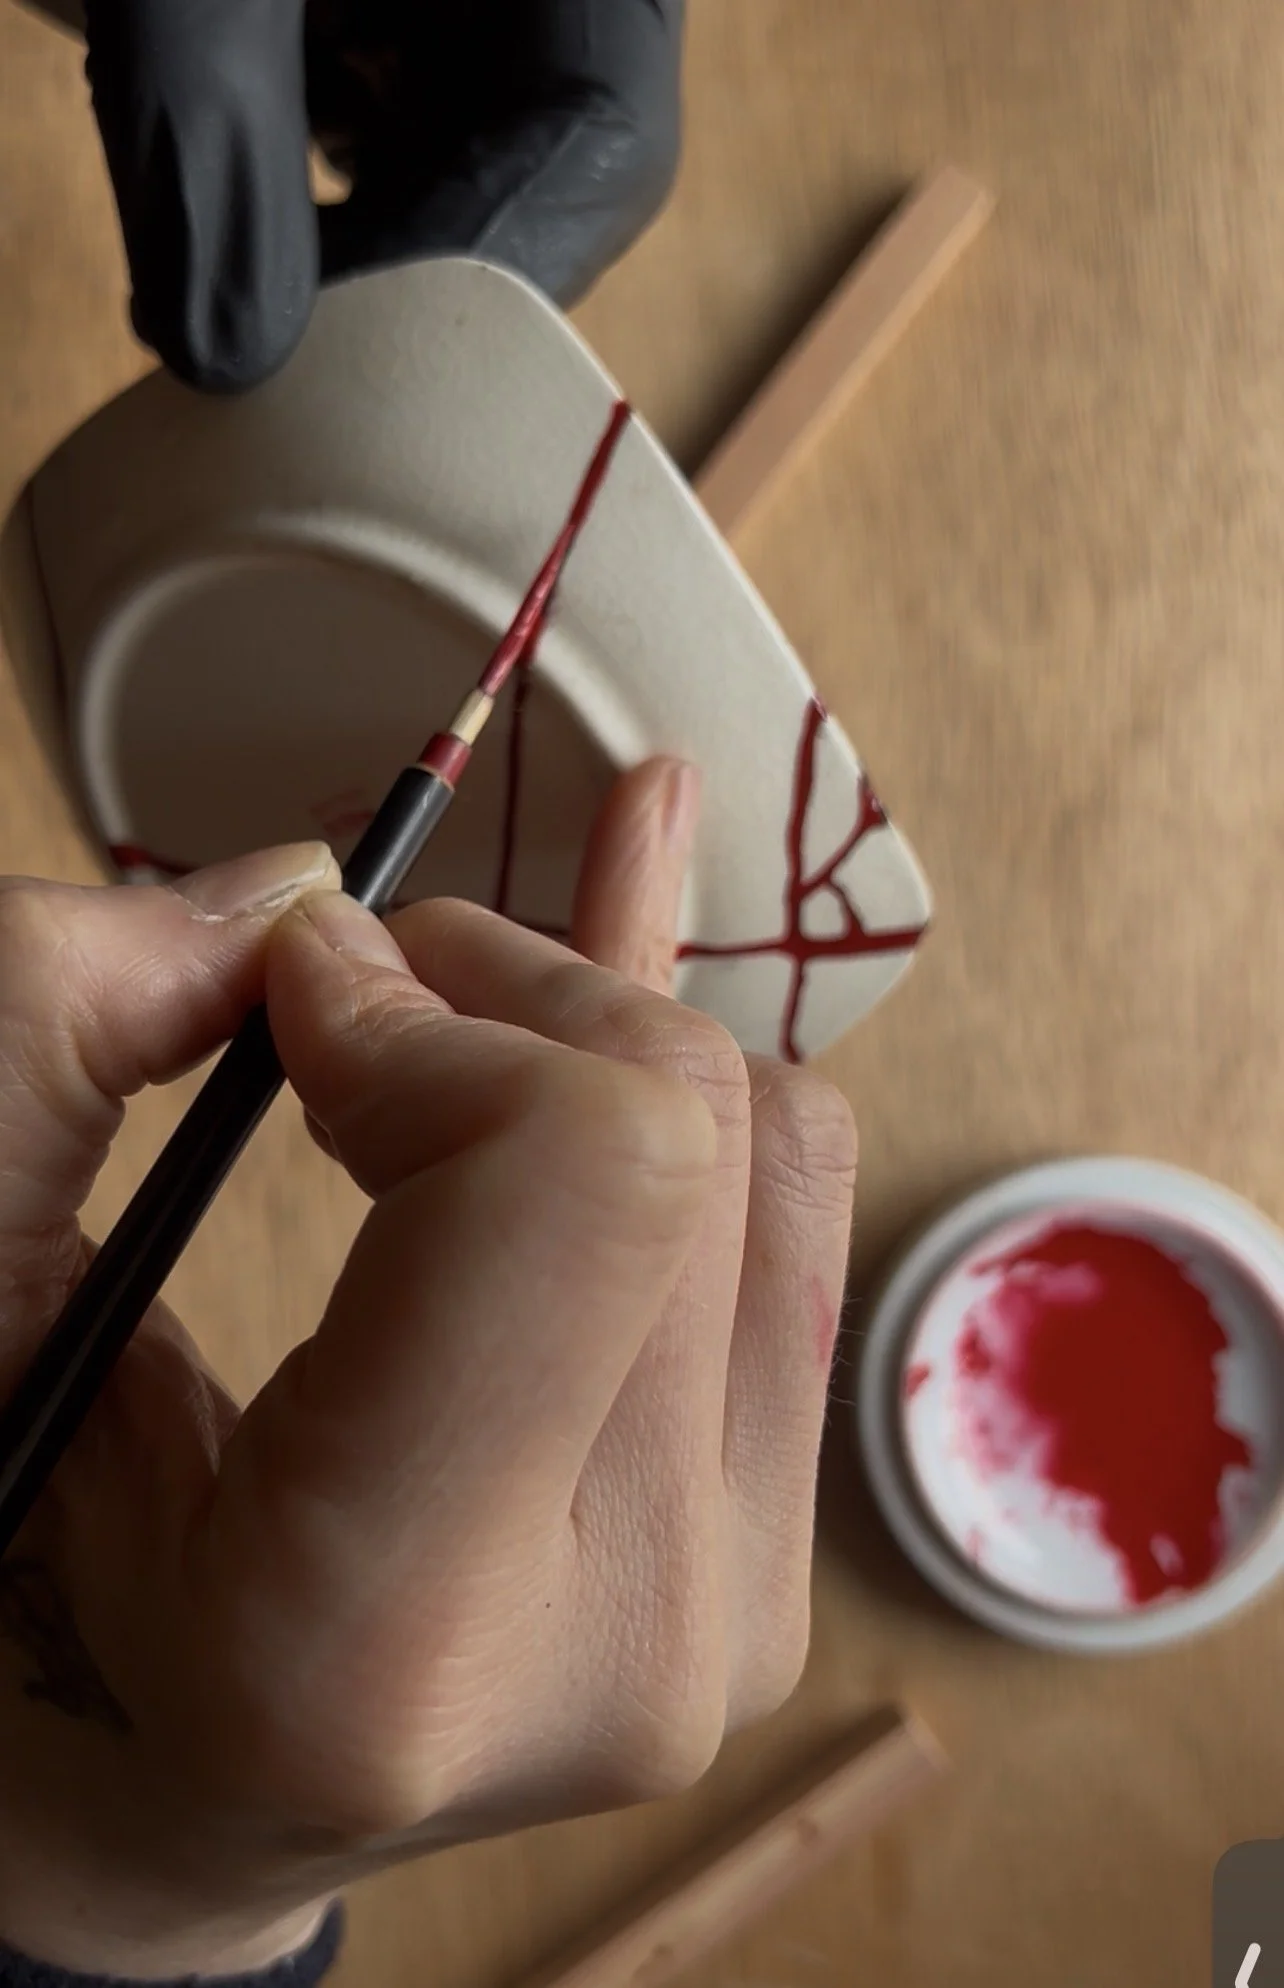
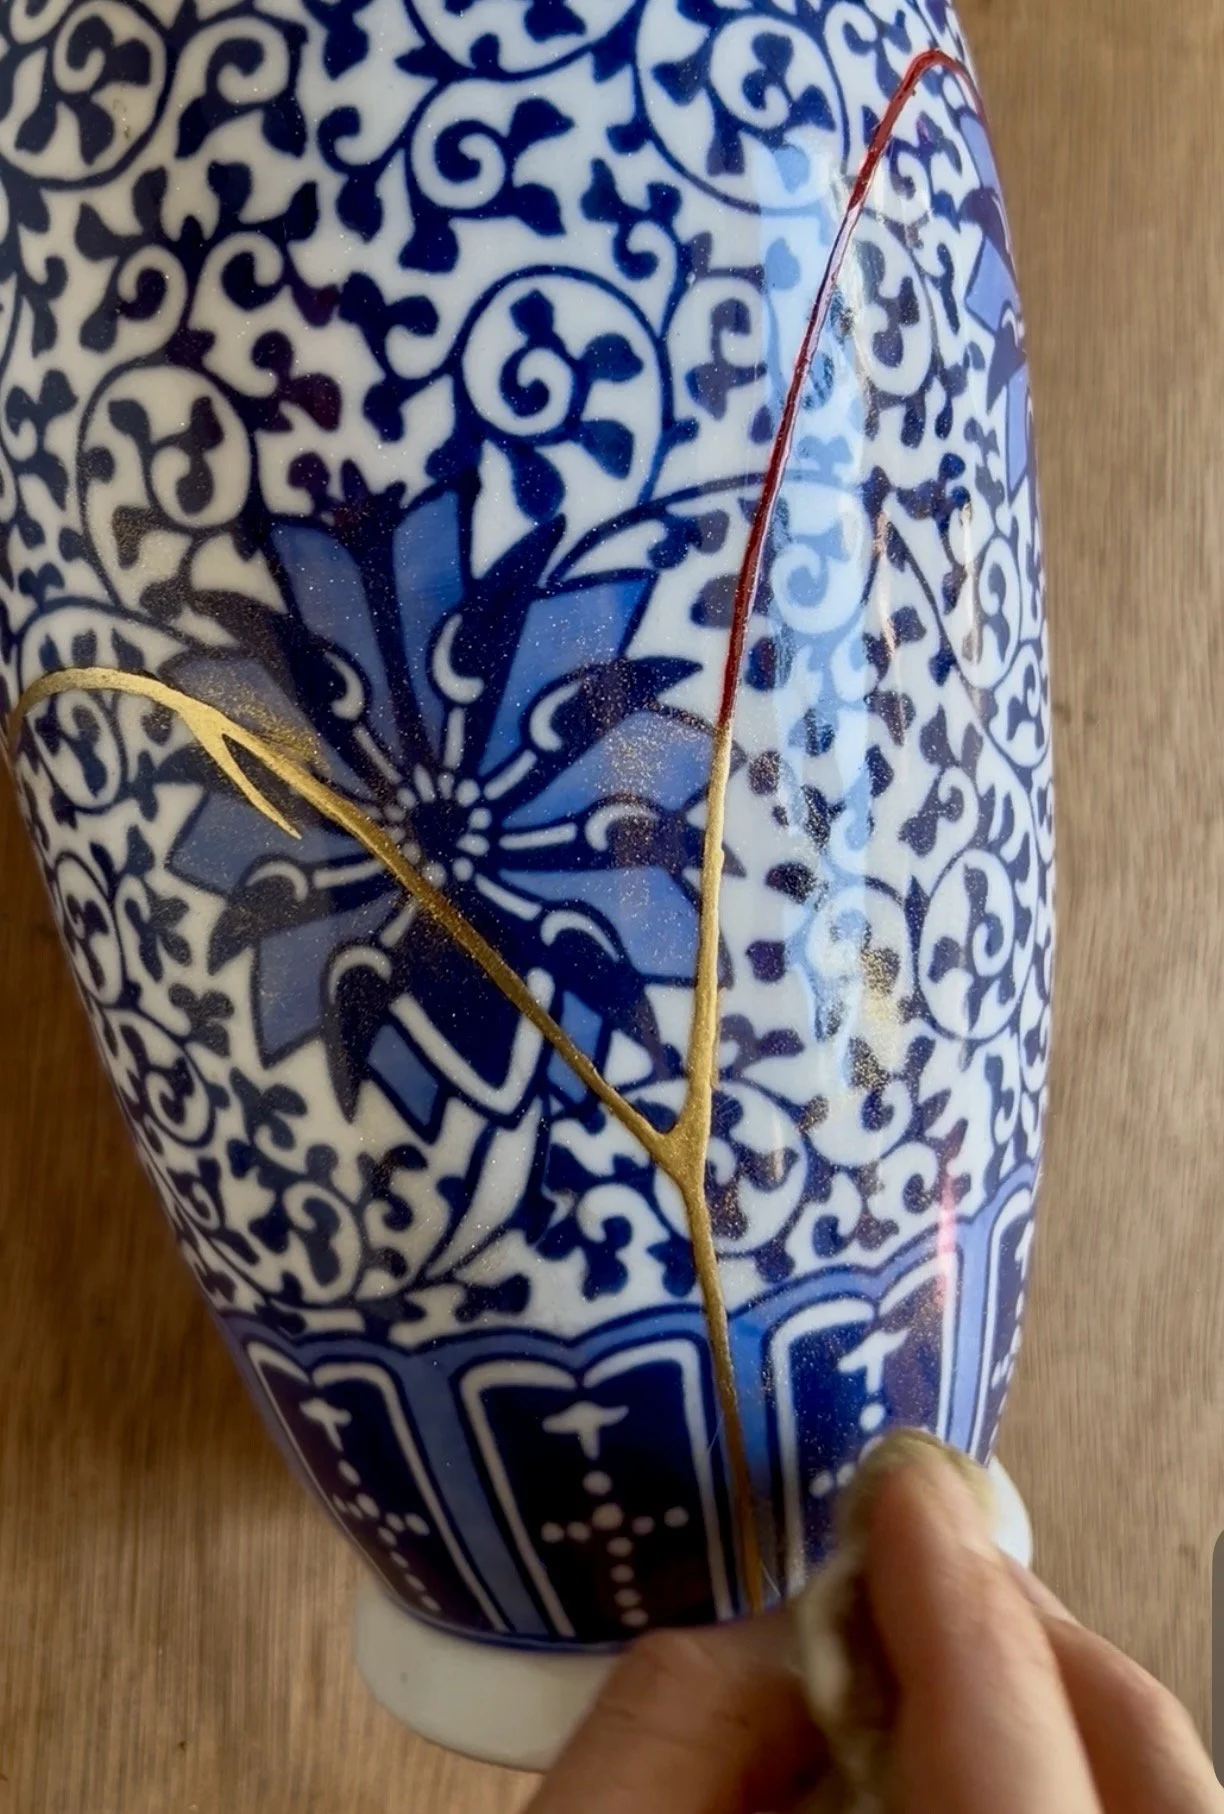
One of the misconceptions I often encounter about kintsugi repair is that it is a kind of welding practice. People often imagine molten gold being poured into a crack, or assume that the piece must be fired in a kiln once the repair is complete. None of these things happens to be true. Kintsugi is a labour of love, care, and patience. The beautiful golden line appears not through heat or molten metal, but through the gradual process of building the line itself. Whether using traditional urushi lacquer throughout, or a combination of traditional finishing supported by modern materials, the visible gold is only the final expression of a much more complex repair happening beneath the surface. Much like maki-e, the lacquer craft from which kintsugi emerged, the success of the finish depends entirely on the quality of the steps that come before it. Every stage prepares the surface for the next. Any small bump, dip, or uneven edge that is left unaddressed will eventually reveal itself once the line is polished and the metallic powder is applied. The finishing stage is therefore less about hiding imperfections and more about carefully refining the repair until the surface feels intentional and complete.
In the case of finishing, I generally consider everything after filling the line to be part of the final refinement process. From the black urushi nakanuri layers building up the profile of the line, to the red bengara urushi layer applied before sprinkling your metal powder. Everything in the finishing stage is significant because of what it reveals about your process. Patience is key at this stage, as our overwhelming urge to see a final product starts to take hold. Patience is the difference between your line being revealed as crisp and luminous rather than rough and uneven.
And perhaps that is what I love most about the finishing stage. The golden line is not a shortcut or a cosmetic addition applied at the end. It is the visible record of every careful decision that came before it — the cleaning, joining, filling, shaping, polishing, and waiting. In kintsugi, the finish is beautiful precisely because it carries the history of the entire repair within it.
If you are curious about how to take your repairs to another level, learn about our Intermediate Kintsugi workshops here.
And join the mailing list if you would like to learn about workshops and get handy tips for your future at-home repairs.
